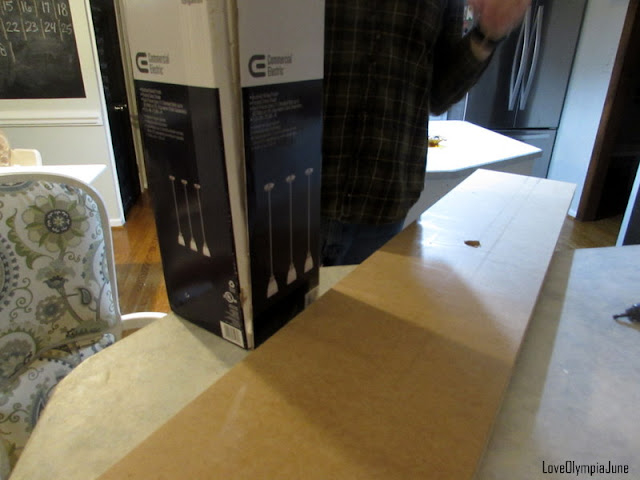
While browsing the lighting aisle at Home Depot a few weeks ago to look for a new entryway light, we stumbled upon 3 small pendant lights for $30. While it wasn't what we were looking to buy that particular day, we didn't see anything we liked for the entryway, and since we had been thinking about getting some pendant lights for the kitchen eventually, we figured, "why not get them now?" I mean, $30 for 3 pendants ain't a shabby deal! So we picked 'em up, loaded the box into the cart, and bought them!
My husband wanted to take some time to think about how he was going to hang 2 of the 3 pendants over the kitchen peninsula...for various reasons (note: we used the other pendant over our kitchen nook which can be seen in some of the photos at the end of this post). One of those reasons was pretty obvious, as you can see in some of the photos below. ;)
Yep, we had a BIG hole in the ceiling.
That was a fun surprise to find once the cabinets were removed.
Anyways, to somewhat "hide" the hole better, my husband put a "patch" over it- and that's how we left that area for over 2 years. Seeing that neither of us was happy with the cover-up, we knew we couldn't just hang the pendants directly from the ceiling. And since we were using 2 lights and not one, we needed a creative way to hide the hole and hang two lights around it.
After much thinking, my husband came up with a great idea to cover the mess with an MDF board- a 1" by 12" and 6'.
He also added some wooden trim around the board so the cords/wiring from the pendants could hide underneath. Clever!
Once the trim was nailed into place, the next step was to figure out the placement of our pendants. My husband did all the measuring for that part, thankfully!
Once all the measuring was out of the way, he drilled 2 holes into the MDF board. This was needed to get the mounting brackets attached and allow space for the cord to go through.
And these were the pendants we bought- ready to be taken out of the box!!
Next came all the wiring- I really have no clue what to do when it comes to stuff like that. I tried to pay attention to it while he worked, but it just looked so complicated and dangerous. I think that even if I learned how to wire lights, I probably wouldn't do it. ;)
Oh, and the bar stools you see in the next photo were used to help keep the MDF board up along with the lights. This helped keep the board steady while all the wiring happened (the MDF was actually pretty heavy to lift).
To hang the board up, my husband held up one side of the board to drill a few screws into the wood above while I held up the other side. Once one side was attached to the ceiling, we were amazed that the board actually held up on it's own. But don't worry, we added more screws to the other side.
This thing is going nowhere!!
Sorry about some of the blurry photos! A lot of this project was completed after our kiddos went to bed so it was pretty dark!
To finish off this project, I painted the board with some leftover white paint (SW Alabaster). I still need to caulk a few areas and do a little touch up paint to some spots, but I've been dragging my feet on that part, as usual. ;)
I did take a few photos of how it all looks right now!
These babies give off so much light that I couldn't keep them turned on for the photos. However, we use them regularly now and are really happy with the outcome. The girls love eating their breakfast and snacks there. It's also a great space for our girls to draw and color. :)
My husband did a great job putting this all together for me. I really didn't do a whole lot, except take a few pictures along the way and try to encourage him that the end was in sight. ;)


No comments :
Post a Comment
I always love to hear from my readers! Thanks for taking the time to post an encouraging & uplifting comment.