Monday, February 25, 2013

A New Addition to the Family!! :)

Welcome Lydia Everett to the world!!

Because we had a little girl last week, I haven't posted any DIY projects. I hope you all understand. :)
We are so excited to have 2 girls in the house now...my husband is now outnumbered (even though we have a male dog!)

Here are a few pictures to share of our little one and our family:
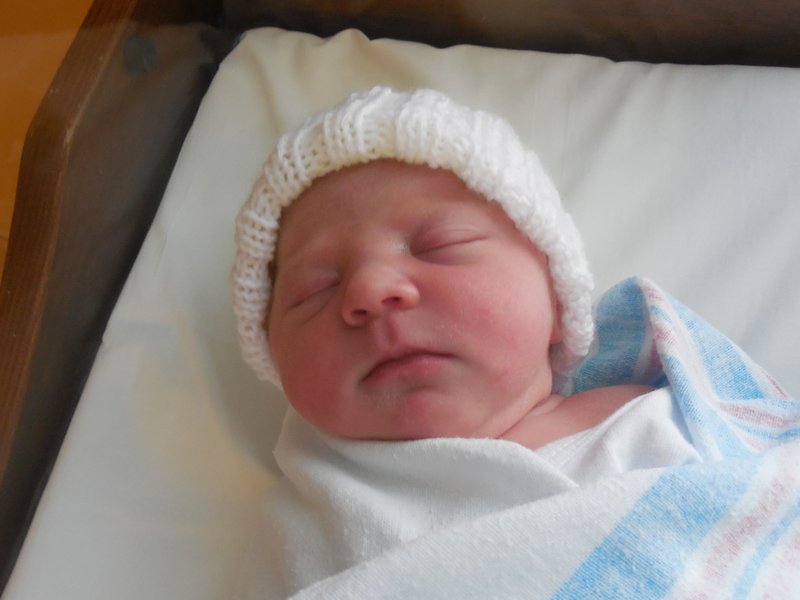

My little miss above and my little miss and I pictured below. :)


After delivery...I sure look sleepy, don't I?
:)


Here is daddy with our oldest, Tessa. She loved running around in the hospital room. Ha!


Tessa also loved taking some of my water from the big jug they give you at the hospital. She loves to use straws like a big girl!


Our first family photo of the 4 of us!!
Can't believe it! :)

Thank you for your patience as I haven't posted an update to my dining room mirrors.
If we can get a couple of naps in today, I will try and have that up to you by tomorrow or Wednesday.
I also have plans to add some embellishments to them.


Have a great Monday and thanks for stopping by!

Wednesday, February 20, 2013

Dining Room Mirror Update Part II

Today I would like to post some pictures of the mirrors I have been updating for our dining room.

In yesterday's post, I talked about the materials I used to update our Target mirrors and today, I have some pictures of what they are started to look like after I applied the wood veneer to them.


Here is a semi-final result of our Target mirrors.
You can see I changed up the pattern from what was there before and went for something a little different. I love the pattern on the mirrors now more than what was there before.


 As a reminder, here is what the mirrors use to look like before I decided to change them up a bit.
They definitely needed a little bit of updating, don't you think?


Here is another shot of what the mirror is looking like as of now...but I still need to paint the wood veneer.


To start, I measured out how much wood veneer I needed. It helped that I already had paint on the mirror to use as a guide. 
I also used a level to help keep the wood veneer straight.


Here is a close-up of the wood veneer going on to the mirror.
You can see that I still have a little paint left on the mirror that hasn't been covered yet.
Don't worry though, that was removed later on. :)


Just a shot of the materials I used. :)


Here is the mirror almost complete...


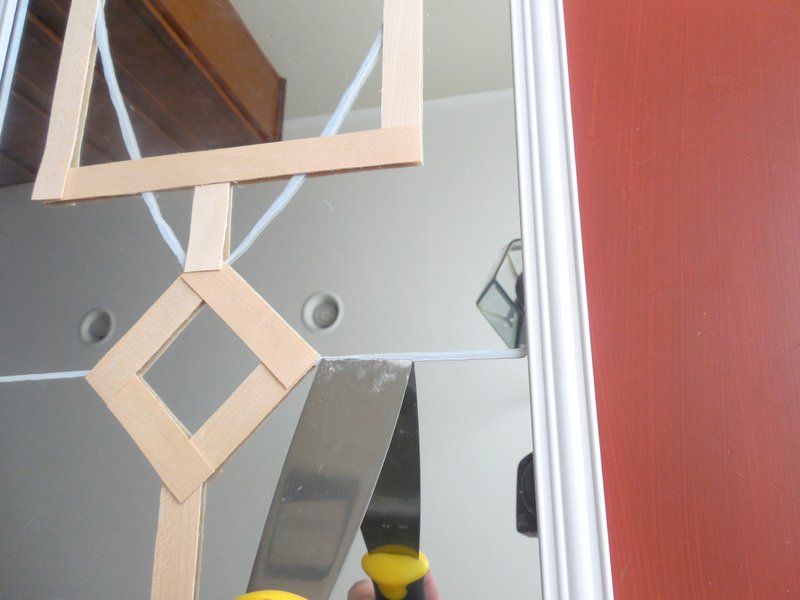
I used a putty knife to scrape off the excess paint that was originally painted onto the mirror.
It came off easily...


Now all I have to do is paint the wood veneers and we are done!!

Stay tuned for more! :)


Thanks for stopping by!

Tuesday, February 19, 2013

Changing Up A Few Mirrors

So we have these 2 mirrors in our dining room that I purchased at Target last year...and they were $6.00 a piece...I had an idea about painting them and did but still wasn't exactly pleased with the end result.


So I had an idea...while shopping around the Home Depot with the family over the weekend, I spotted some birch tape down one of the aisles and thought to myself, "Hey, this could be a cool project for my mirrors." So we purchased the birch tape and I applied them in a cute way on our dining room mirrors.


I have pictures to show of what I did but it will have to wait until tomorrow.  :)

Until then, here are the supplies I used:


http://www.polyvore.com/cgi/img-thing?.out=jpg&size=l&tid=34420441
Target mirror X2 for $6.00


 Wood Veneer from Home Depot for about $6.00


I also used a hot glue gun  to glue down the veneer to the mirror which works great!

Stay tuned for the process and the final result!!


Thanks for stopping by!