Wednesday, March 23, 2016

Helpers in the Kitchen

So yea, it's been a while. The past couple of weeks have been a roller coaster for us with different things going on here and there, but it is good to be able to get back to blogging. All I can say is that the Lord has been working in me in ways I haven't known before and it's been good. While I still love to blog about decor, I feel like things might be changing a bit in what I blog about, so that is why today's blog post is a bit different from the rest. 

I wouldn't say I love to cook, and I wouldn't say I hate it, but I will say that I do enjoy cooking most days and have recently started letting my kiddos help out more and more in the kitchen- not just cracking some eggs open into a bowl and stirring some things here and there. Like I mean, letting them cut up veggies for dinner and prepping tortillas to be put in the oven kind of helping out. 
I had a moment today where before I started cooking dinner I thought, "Why not ask if my kiddos want to help me out?!" So I asked and they, of course, were delighted to help...especially my middle child! Give her a plastic knife any day and she is a happy girl (as crazy as that might sound!).   :)


I started by letting my girls cut up some cilantro on the cutting board and later they got to stir some of the ingredients together in a bowl to make some chicken enchiladas for dinner.


That was fun!


And as you can see, things got quite messy along the way, but I learned that it was going to be okay. Usually, I would have been hovering over them picking up every little bit of something that dropped on the floor, but today, I just let the food fall to the floor and cleaned things up after we were done- it felt a bit freeing to be honest.

(Also, I think these girls would wear their new shirts from their mema every day if they could).

It took a while for my oldest to chime in on helping us out in here, but she really liked cutting up the onions. Since they were using plastic knives, it wasn't the easiest thing to do, but they had fun with it and learned a thing or two about food preparation.


I even let one of my girls spoon the chicken and veggie mixture onto our flour tortillas...she was very insistent on doing it herself so I couldn't say no. I've come a long way people! Ha! She actually did a great job with this part and was so proud of herself. 

I don't know exactly why it has taken me this long to let my girls really help me out in the kitchen. 
Maybe it was the worry that the kitchen would be more of a mess to clean than if I were just working by myself and I didn't want to deal with that. 
Maybe it was the thought that it would take a lot longer to prep dinner if they helped me out and I didn't think I had time for that. 
I don't really know exactly what was holding me back, but I'm glad they got the opportunity to really get their hands dirty, if you will, and learn something new. It was fun for all of us and I can see us doing this a lot more often in the future.

What about you? Do you ever feel brave enough to let your little ones help out in the kitchen, even if it's not prepping something as big as a dinner for 5? If you haven't what is holding you back? Go ahead and let them help, it's well worth it in the end!

Thursday, March 3, 2016

Some Updates to the Girl's Bedroom


It's no secret that I like changing things around in our home. Doing so makes me feel like each room has gotten a refresh and it really is amazing how changing up a few small things can make a space feel like new. The girls' room is no exception...I just moved a few things around and added some other things (like a mirror and small dresser) and the space not only looks different but I think also functions better.


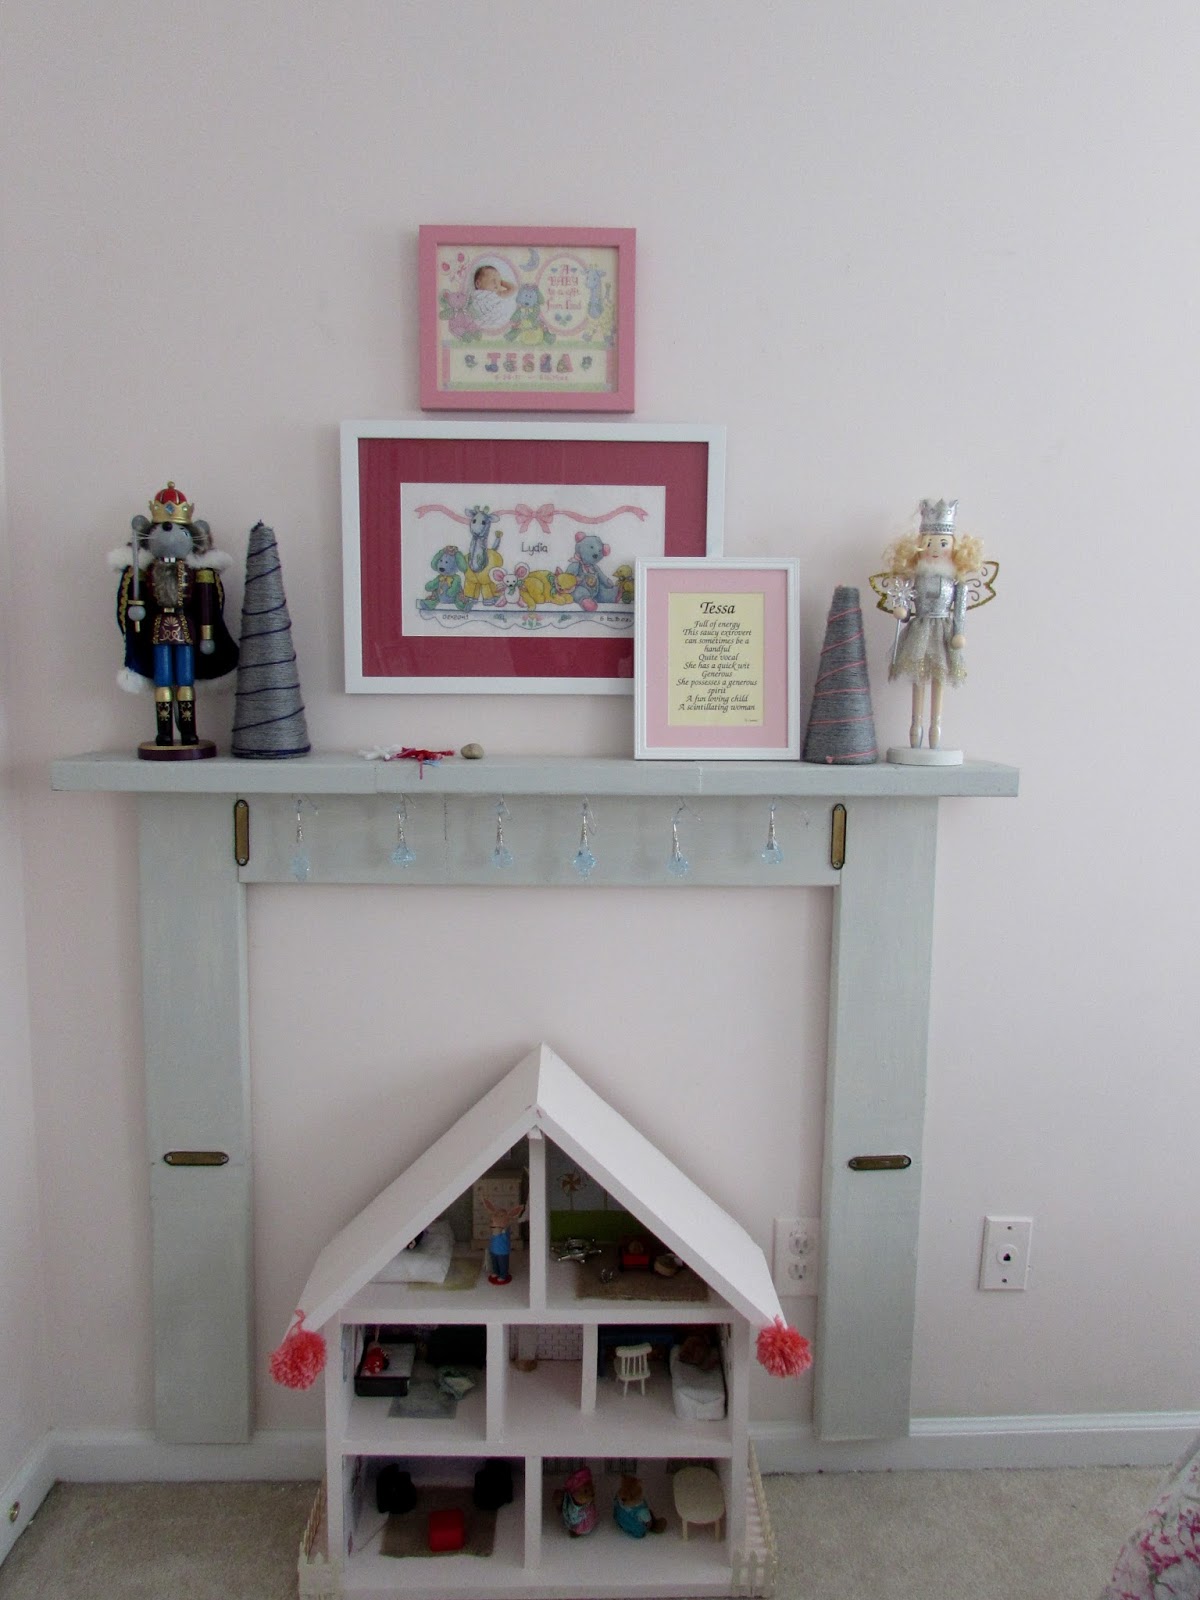
The walls are still the same light pink color I painted them last year- BM Mellow Pink. Such a lovely color for a little girls room!


I ended up changing up the frames above their faux fireplace with some special prints that my mother-in-law made for them. I also added the girls' dollhouse under the fireplace...and I'm happy to report that they actually still play with it quite often! In fact, this morning, my younger daughter was playing with the dollhouse and having so much fun with it that she didn't come downstairs to eat breakfast right away.


I also changed out the 3 square mirrors that were on this wall and replaced them with 4 of our favorite family pictures- taken when the girls were much younger.


The IKEA nightstand was also brought in from our room and we stash the girls PJ's in here. It makes it easier to get ready for bedtime now that they can access their pajamas quickly. I still need to figure out how I'm going to paint the dresser. I've got a few ideas swirling around my head about it but haven't settled on anything quite yet.


I really love all the photos that we added to the room. They are really sweet and make their room extra special.


 I'm still debating on whether to paint their closet doors a nice rich gray like we did in the family room.


And that wooden bookcase (which was given to us as a wedding gift) houses a plethora of their books and dolls...they love grabbing books from it to read before bedtime. :)

That pretty much sums up the updated space.
I am still on the hunt for a small rug to go between the girls' beds and still need to paint the nightstand, but other than that, it's a done deal in here! Hooray!

**Oh, and I must mention that my awesome husband switched out the huge blue fan that was originally in here and put it in the kids playroom. I painted one from the playroom and he put that up a few months ago. :) Their room looks sooo much better now that the other fan is gone!! Thanks honey!

Monday, February 22, 2016

5 Easy Ways to Complete Any Room

The nursery is pretty much complete...sometime in the future I would love to get a new rug for our son's room, but for now the room is done and I love how it turned out. 
With that said, I wanted to share some easy ways to add detail to any room and since the nursery is one of the rooms that's recently been finished, I'm going to use it as my example for this post.

 
1. Add artwork and/or personal photos.
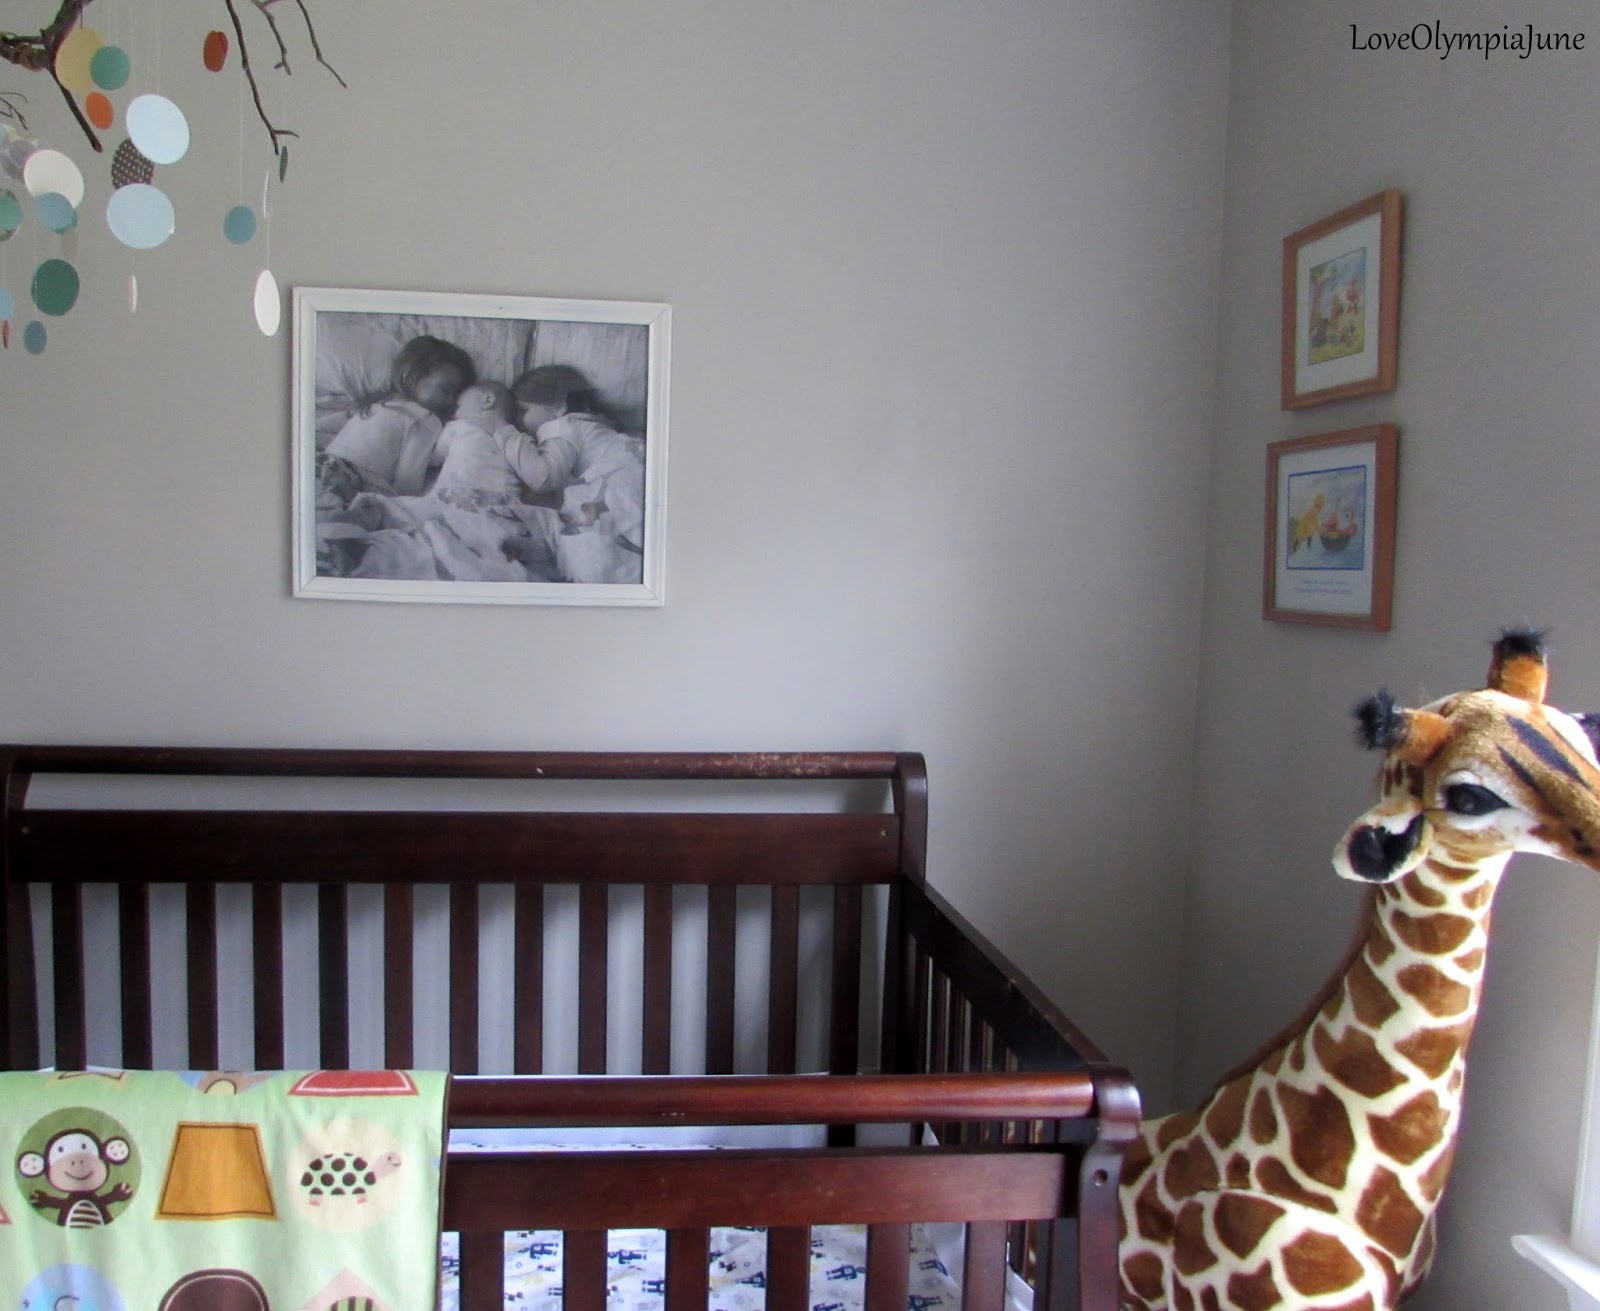
In the nursery, I took one of our favorite photos of the kids and hung it up over the crib. It's absolutely perfect! I also added some Winnie-the-Pooh prints that have also been used in our girls' room when they were babies. All of these have added that extra special touch to the space and can be done in any room.


2. Add a pop (or two) of color.
If you are using neutral wall colors in your home, it's a good idea to add pops of color elsewhere. Go ahead and do it...if you don't like it, remember it can easily be changed! In the nursery, I did this by painting the colors doors a bold green (BM's Bunker Hill Green) and also by painting the changing table in a rich navy blue.


3. Make the rooms flow.
Since the reading room was painted in this bold green color first, I decided to try and tie that in with the nursery- hence that's why the closet doors were painted with the same color. And it was important to keep the nursery walls neutral so they didn't compete with the bold color in the adjacent room.

 4. Add something unexpected.
This is where I like to have a little fun in each room I decorate. Adding something unexpected, like the hanging globe or the tree branch mobile from the ceiling in the nursery not only gives the room some character, but it also adds a little surprise to the space.


5. Have fun with it and be true to your style.
This can be particularly tough to do because there are so many other "pretty and staged" photos out there online. It has taken me a while to find out what I like and what I don't like, but thru trial and error I think I've finally got it down. ;)