Thursday, February 1, 2018

Repose Gray in the Play Room (plus many other pictures of this fun space)

In one of my recent posts, I shared some paint samples that went up in our playroom. I was testing out a few colors and thought surely one of them would be the clear winner. Well, that just wasn't the case.

Instead of buying more samples, I decided it would be better to just go with a neutral light gray we used in our last home (in our master bedroom.)
I remember loving that color a lot and thinking, "I bet it would work with our blue carpet in the play room. So instead of waffling back and forth about it (which I do too often), I decided to head to Sherwin Williams one day last week and get a gallon of Repose Gray. It was definitely the right choice!!

I will start by sharing some pictures of the painting process and even share a "new-to-me" tool I used to help get this painting job done quicker. 
(Side note: these next couple of photos were taken at night, so they are grainy and dark). 


In the last two photos you probably noticed some snazzy wallpaper border going up around the room. ;)
Yea, I decided to just paint over it (more on that later). After doing so, some of the wallpaper started to bubble up under the paint (fun times!) so my hubby was able to scrape off a lot of it making it less noticeable. Thanks, babe!!


I decided to paint the walls with this type of roller pad instead of the round rollers because it advertised itself as being a "quicker and easier" way to paint. To my surprise, it was quicker and easier to use it! I'd recommend it...it looks like a paint edger, but it's a paint pad and even does a good job edging borders near the ceiling. :) And with the high ceilings in this room, that was very, very helpful.
We bought ours at Lowe's. 


The mess before it can all be brought back together...


Here is some of the wallpaper we were able to get down.


It's funny how during this process of trying to remove the paper border brought back some memories...
Before we moved into this house, we were told that all of the wallpaper in each room would be removed. I remember even double checking on that because we knew how much work that would be for us to have to do ourselves. We were reassured it would be taken care of. 
Well, by looking at these pictures you can see that that didn't exactly happen. ;)


Have you ever tried taking down wallpaper? Talk about an arm workout! Phew! 
After removing it in several areas of our home, I just decided it was way too much work to get it all down, so I painted right over it in here. There are some good blog posts on how to do this so I figured why not give it a try. In my husband's office (when the time comes to tackle that room), we will try and do it right and take it all out. His office is covered top to bottom in ducks and stripes so it will be coming down at some point. Ha!


Anyways, I guess I'm sharing all of that to encourage folks who are moving to make sure you get in writing whatever it is you are told will happen and want done. Otherwise, it's probably not going to happen unfortunately. 


Whew! Now that that's over, here are some pictures of this fun space finally finished!!

This stairwell has been a wonderful spot to display the art work our kid's want to keep.


We made a magnet board for the kids using a thin galvanized metal sheet.. I purchased ours at Lowe's, but a friend told me she bought hers at Wal-Mart in the auto section. I believe hers was a metal oil drip pan which is different than what we have...but either works for magnets!
The only thing I would say is that with the thinner metal sheet, because the edges are a bit sharp, you are going to want to tape around them making a border so little hands/fingers don't get hurt. I used a few layers of electrical tape to put around ours.


We decided to use chalkboard paint on this entire wall. It ended up working out because I ran out of our gallon of SW Repose Gray. Ha!
It's a fun area for the kids and their friends to use.


My daughter wanted her preschool alphabet letters to be displayed and the chalkboard wall makes a good background for it.


I also shared a post here about our train table. We love the storage it provides underneath for those extra tracks and pieces!


I have accumulated a lot of kids books over the last 10 years (some are from my teaching days) and thought it would be fun to have a reading corner for the kids. The bookshelves were made using rain gutters.  If you're looking for an inexpensive and unique way to display children's books, this is a great option.
I also added a shelf (thrift store find) for their Play-Doh and accessories as well as a storage cube for more toys.


The craft table/area is next to the large window which is a great spot for our girls to create things. :)
If you're looking for inexpensive furniture, thrift stores are great places to shop. Our craft table, chairs, wooden shelf, and shelf/dresser shown in the photo below were all purchased at the thrift store. 


The Lego area was relocated (surprise!) to this little area next to the playroom. I like having the Lego desks next to this window. The amount of sunlight that floods into this little room is great for working and our kids enjoy spending time here.
The wall paint color is the same green we used to paint our son's closet doors.


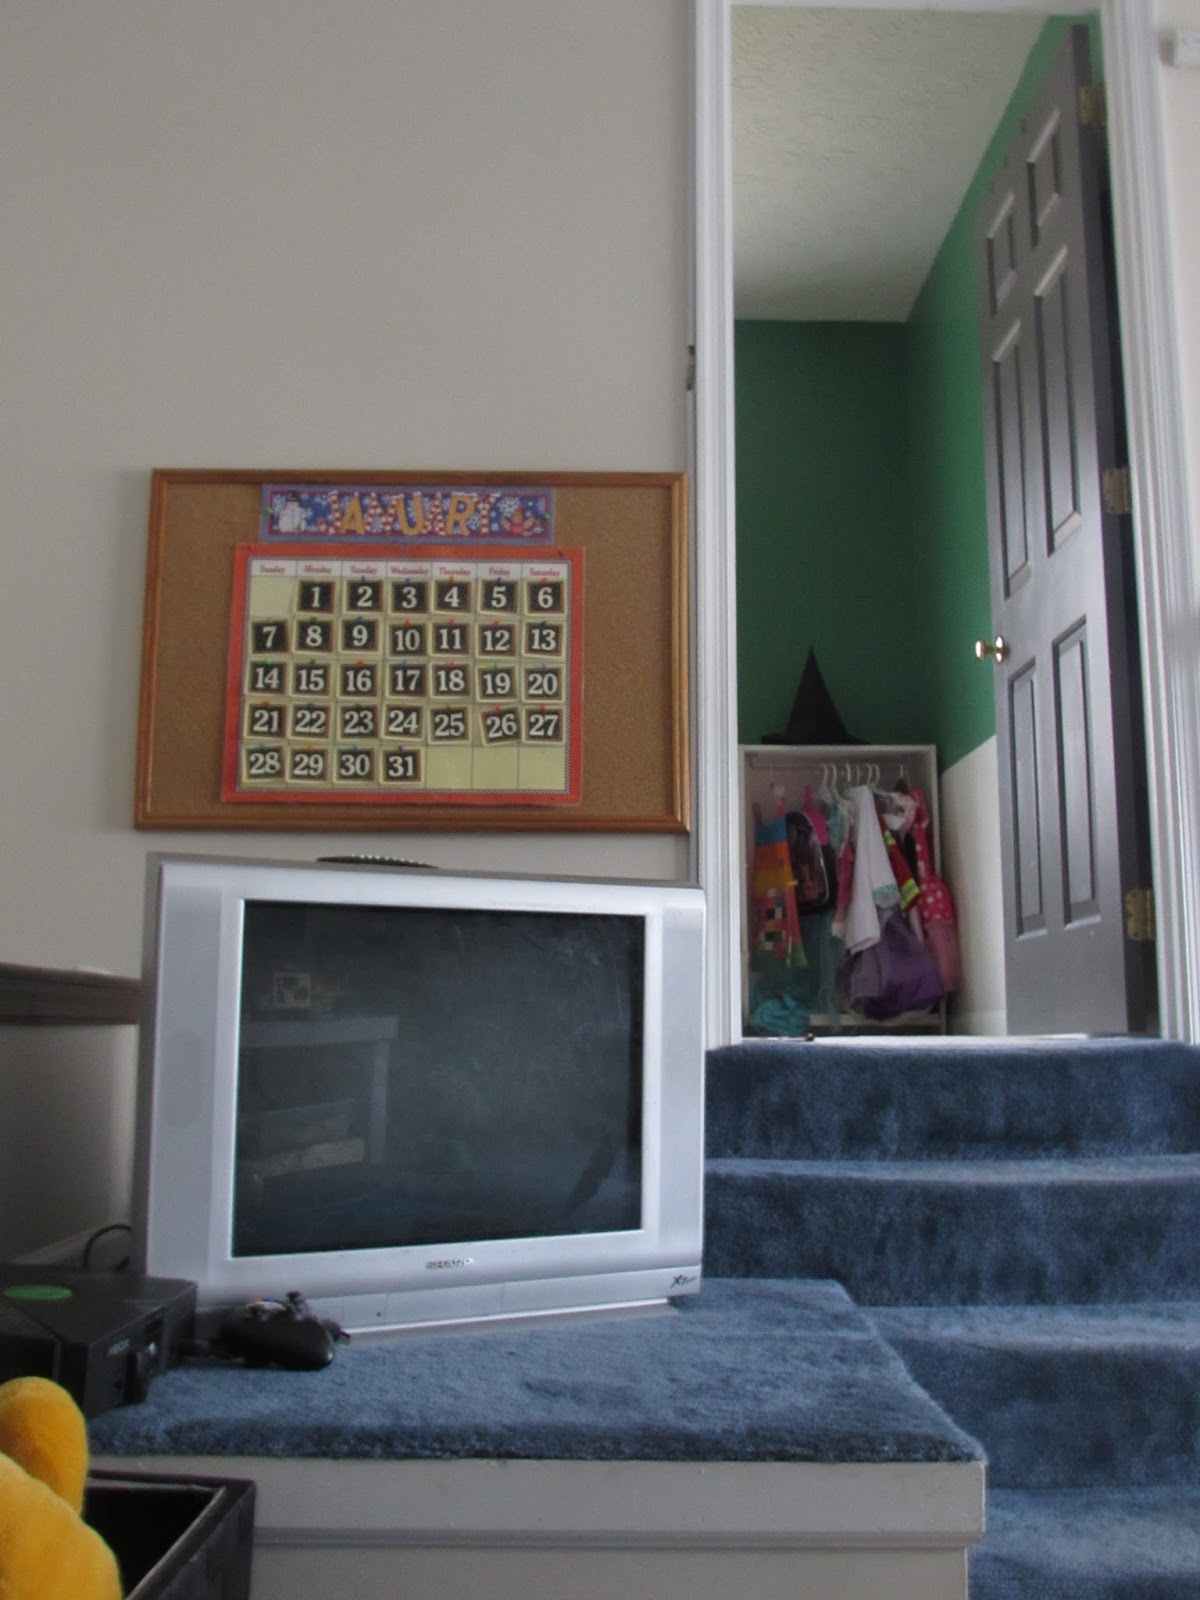
And I turned this little corner in here into the dress-up area...complete with a map of the US. Ha!
It's fun watching my kids try to find where family and friends live on the map. Because of the scale, all the states don't look too far away from each other. They use to think Florida wasn't very far from Virginia because on the map it looks like an easy trip to make. But when we drove there last month, they started to understand this concept we've been teaching them about drawing things to scale.


Of course this wouldn't be a good play room if our kid's didn't use it so of course I'll end with a couple pictures of our boy and his train table...


                                                          Just look at that focus. Ha!


and our girls using the Lego room...


Sisters <3 May they always have this close bond with one another.


That's it for this space. We love having it and are thankful for the moments spent in it. We know our kids will enjoy it for many years to come and that makes all the hard work worth it!

Tuesday, January 30, 2018

Our Train Table (and what we used to build one)

I wanted to pop in to share a quick post about how we built our train table.

To make this a little short, we basically followed these instructions here and made a few adjustments as needed.
This site was VERY helpful and even lists step-by-step instructions on how to make a train table. We found it very helpful, so I'm not going to type up every detail of how we made ours, but I will share our dimensions and some pictures. :)

My hubby did the big cuts while I used a jigsaw to shorten the legs of the table a bit. Our train table measures as follows:

50" long
38" wide
23" high


I still have to paint the shelf that my hubby added to it (it's great for extra storage) as well as the sides. But here are some pictures of the finished product!


This boy spends a lot of his waking hours playing with it...he is obsessed with trains! Like to the max! 
And he doesn't sing too much, but when he does, you can bet it's the Thomas theme song. :) over...and over...and over again. Sometime he asks us to sing it so he can loop his trains round and around the tracks. Ha!

The cost to make this came in at about $50. We didn't use the most expensive wood so that did help keep costs down, but you can use pretty much any good pine wood for this project and it does just fine. I did have to sand some areas because of this, but it was worth it!


Tuesday, January 16, 2018

Some Fun Changes in the Playroom

I'm always up for a good project! 
Once we got back from our Florida vacation, I was ready for the next update to make to our home and couldn't wait to start. 

Well....that part about not being able to wait to start the next project isn't exactly true...


Actually, we've been back for a couple of weeks now and I've only done one quick project. So it wasn't necessarily "full speed ahead" once we got back home, thankfully. I'm slowing things down a bit.

However, there is another project in the works- painting our kid's play space. There are still a couple rooms in our home that haven't been painted yet, and the playroom is one of those areas. 

And there's a good reason for that.

It's a fairly big room with high ceilings, so painting this space wasn't top priority and seemed a bit daunting.

Since we've lived in our home for a little over 3 years now, I figured it was time to update the space. The challenge was not only the size of this room, but the outdated, old blue carpet. The carpet in this space is about 25 years old and as you can imagine, is not in the best shape (Yikes! I know, right).  Unfortunately, we aren't replacing it anytime soon because of cost and time, so the new paint color will have to compliment (well, at least somewhat compliment) the floor. I've got my work cut out for me a bit with this one.

Before I ramble on about paint swatches and the like, I did want to share a quick and easy Lego table/area I made for our kids recently that you can make at home too. 


The materials used were two 4 foot long MDF boards from Lowe's. Each board was about $3.50/piece and I needed exactly 8 feet for this area. Super happy I didn't have to cut any boards (or at least ask hubby to do that part) ;)
We already had the L-brackets, screws, and anchors making this project well under $10 total.
The plastic 4-drawer container in the middle holds building tiles and wood blocks for building and also serves as a good divide between the boards while keeping things steady. We also already had that container, but they can be found at many big stores for pretty cheap. 
I'd also recommend putting some kind of tall storage container somewhere in the middle to help separate the table a little bit and add more support.


I purchased a bookshelf for $17 at Wal-Mart that holds all of our kid's Lego, but you can use pretty much any kind of storage container to hold all those Lego.


In the photo above, you can see some of the wallpaper left from the previous owners. That covers the whole room (but thankfully only as a border near the ceiling). But, we won't focus on that...just the cutie building some fun creations!


This girl loves to build things!

So focused. :)


Lego building/play has become a bigger deal in our household now that our girls are 6 and almost 5. Our youngest isn't into it too much.....yet. 

With that said, we do spend quite a bit of time here, especially during the winter months. I'm super thankful for this space and our kids are too, so it seems only fair to update it beginning with the wall color. 

I mentioned that we aren't changing out the blue carpet anytime soon, so I'm trying to work with what we have. Plus, I painted the hallway, (or the kid's "cafe") a bold but beautiful dark green (BM's Bunker Hill Green). I want each room to flow well together, so I had to think about that with the paint samples. 
Speaking of helping each room feel connected...if you want to see how this dark moody green looks on a door, check out this post here. I used it in our son's room as well. Love that color!


I started with 3 paint samples:

Top left: SW Aloof Gray
Middle: BM Gray Cashmere
Bottom right: SW Comfort Gray

Each paint sample was purchased at Lowe's and I've found that they do a good job matching paint colors.


This girl and her Doc McStuffins :)

Here are some more paint swatches I put up around the room (same ones as listed above).


To be completely honest, none of the colors jumped out to me as being "the one." I thought Aloof Gray had purple undertones, Gray Cashmere showed up more like a baby blue, and Comfort Gray was too dark.
Thankfully, samples are pretty cheap! So it's back to the drawing board.

However, I do want to say that the samples did help steer me in the right direction of what color family to go with- GREEN. 

So I'll be searching for a green(ish), possibly minty, paint color for this room. I'm hoping to get my girls to help me with that part. After all, this is their space. ;)