Showing posts with label Recipes. Show all posts

Wednesday, June 1, 2016

Hazelnut Frosting with Chocolate Cupcakes


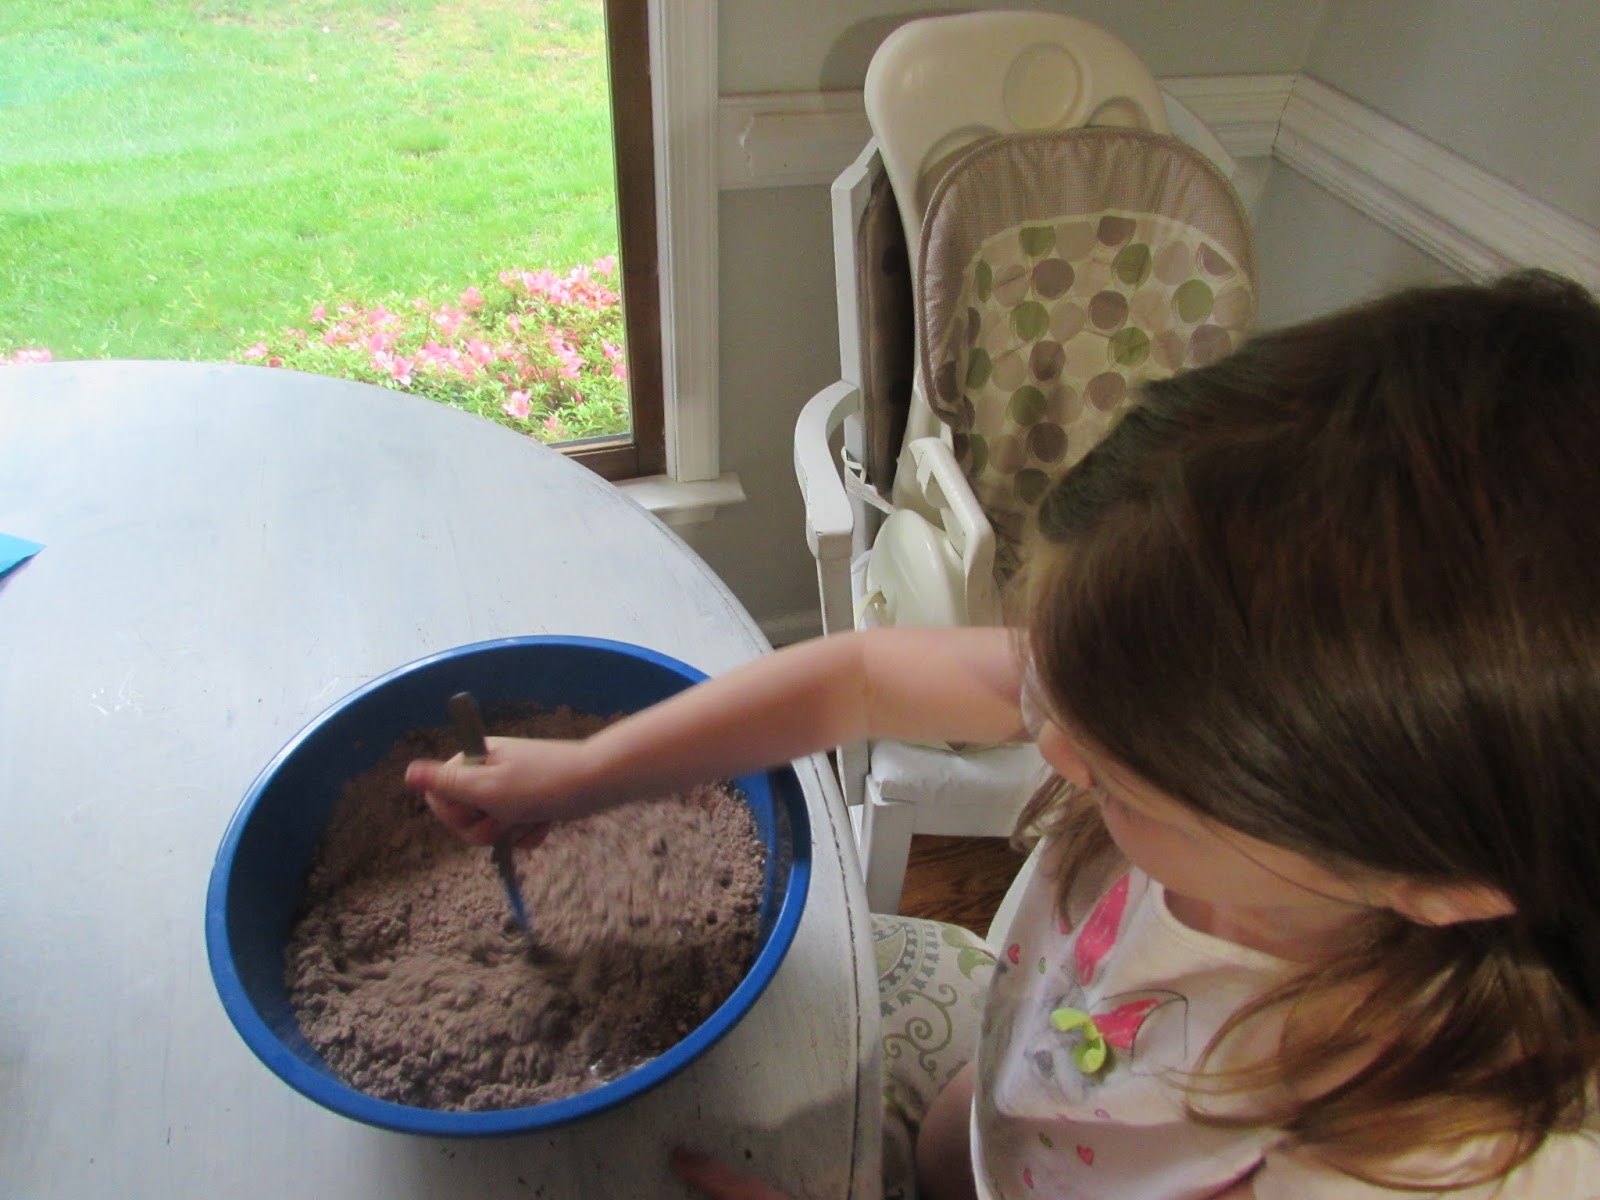
Well, if you know me at all, then it should come as no surprise that I love to bake. I also like to get my kids in on the process and they really love it- especially when they get to lick the frosting bowl clean after all of the cupcakes are baked and frosted! Do yours ever do that? 
All of my kids have a sweet tooth (yes, that includes the little guy)- I guess you can say they are just like their momma who absolutely loves anything with sugar! ;)

Anywho, this recipe isn't a new one. I found it through a talented blogger named Dear Lillie. 
What I liked about this recipe when I first saw it was the simplicity of it. There aren't that many ingredients to start, which keeps everything down to a reasonable cost. Not only that, the recipe calls for Hazelnut spread (a.k.a.- Nutella)- in my book, you cannot go wrong with a recipe that calls for that stuff!!!

So here are the ingredients you need to make the frosting:


1 cup of butter, softened by not melted

1 cup hazelnut spread 

2 tsp. vanilla

4 cups powdered sugar

2-4 tsp. heavy cream (if you don't have any you can use milk)


First beat the butter and hazelnut spread together then add vanilla. After that, mix in the powdered sugar one cup at a time. Add the heavy cream as necessary until you get the right consistency. 


And that's it as far as the frosting goes!

To make the cupcakes, I just used a store bought box and followed the directions. 
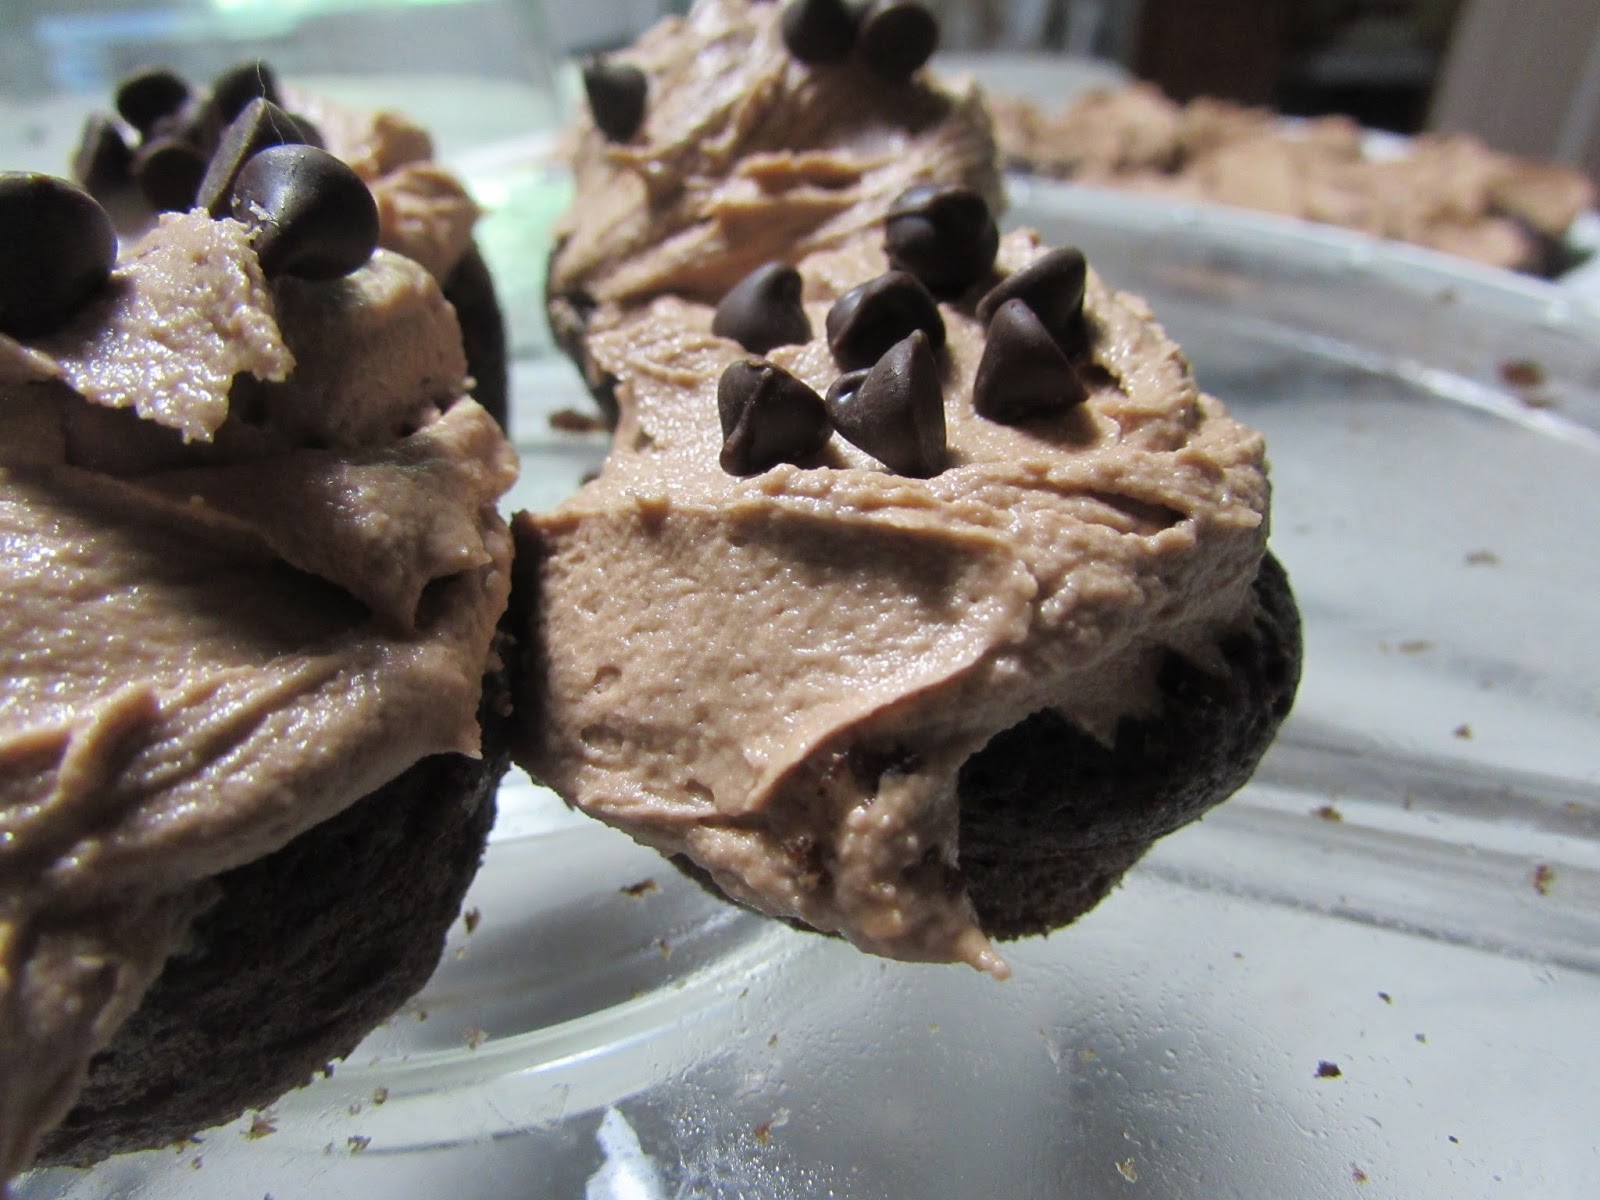
Once the cupcakes were cooled, we used a spoon to add the frosting to them- nothing fancy- and then added a few mini chocolate chips to garnish the top because, you know, they needed more chocolate!!


And just like that, they are done and you have some deliciously good cupcakes. I'm serious guys! These are some of the best (mostly because of the hazelnut frosting on the top)!

Let me know if you try them.
We happen to think they are wonderful- in fact, so much so that we have made them twice!!  :)


Friday, April 29, 2016

Cookie Fail?


The other day, my kids and I went grocery shopping for a few things. We passed by the bakery section (which was on the way to another section of the store I was planning on hitting up) and of course my kids asked me to stop and look for cookie samples for them at the bakery. Usually, there aren't any samples left (because we shop later in the day), and even told my kids not to get their hopes up. But, my kids insisted we check it out anyways, and to my surprise, they actually had some cookies out to sample which made my kiddos very happy! Lucky me!
We grabbed a sugar cookie and what we thought was a ginger cookie with chocolate chips. Both were delicious!! So of course, we thought it would be a great idea to try and find a recipe for the ginger cookie we sampled and that is what we did after we got home from the store.

I found a great recipe here, so we decided to head back to the grocery store a little later to grab a few more ingredients we were missing to make the cookies that we didn't have on hand at home.

Side note: This recipe calls for candied ginger. I had no idea what that was and apparently you can buy them pre-made, but we decided to go ahead and make our own candied ginger since it looked pretty easy and fun. I have to say that the juices from the ginger, sugar, and water mixed together are delicious. We used them as a mix in sauce for some rice for dinner and I would recommend it!! It turned out to be such a great sauce that I made it 2 days in a row!

Following the recipe was pretty simple...and as an f.y.i.-there were a few things listed out of order, so if you decide to use this recipe just keep that in mind. 


They looked great once they were done...but they certainly didn't taste like the sample cookie we had at the grocery store. And I knew they wouldn't be exact, but they came no where close.

Below is a picture of my daughter excited to try the cookie...little did she know that she really wouldn't like them and I don't blame her...the ginger was a bit over-powering, even for me, and we would make them differently if we were to try this recipe again.


So, if you are a big fan of ginger and/or spices, definitely give these a whirl! You will probably really like them and the candied ginger in each cookie will be a nice surprise.

Oh, and one last thing, a few days later I went back to the grocery store for some miscellaneous things and decided to swing by the bakery to see if I could find the kind of cookies we sampled a few days prior and was way off on the name...they weren't ginger cookies after all! They were in fact pumpkin cookies with chocolate chips! Oops!! I had to laugh though after finding that out because my oldest and I swore it was a ginger cookie we sampled.

Now on to finding a good pumpkin cookie recipe where we can add in dark chocolate chunks and hoping that tastes better! ;)

Saturday, September 5, 2015

No-Bake Cookie Dough Cups

No-Bake Cookie Dough Chocolate Cups

**Starred parts mean that I changed the recipe a little bit.
For us, this recipe makes about 30 cups!!!

Also, these are seriously DELICIOUS! A must try for anyone who loves cookie dough and/or chocolate.
Ingredients
  • 6 tablespoons butter, at room temperature
  • ½ cup light brown sugar, packed
  • 3 ounces cream cheese, at room temperature
  • 4 tablespoons white sugar
  • **2 teaspoons vanilla extract  (I omitted this because we did not have it on hand)
  • ¼ teaspoon baking soda
  • ¼ teaspoon salt
  • 1 and ¼ cups white flour
  • ¾ cup miniature chocolate chips
  • ¾ cup + 2 tablespoons milk chocolate chips
  • ** ½ teaspoon coconut oil, separated (I used vegetable oil instead)
Instructions
  1. In a large bowl, beat together the butter (make sure it is at room temperature and not melted or you will need to chill the dough) and brown sugar for 2-3 minutes. Beat in the room temperature (again not melted at all) cream cheese and the white sugar. Beat until well combined.
  2. Beat in the vanilla, baking soda, salt, and flour until a dough is formed. If it is too wet add in a little more flour until it pulls away from the sides when beating.
  3. Stir in ¾ a cup of chocolate chips.
  4. Roll the cookie dough into small balls and set aside.
  5. Line a miniature muffin tin with miniature lining cups.
  6. In a small microwave-safe bowl melt ½ cup chocolate chips with ¼ tsp. coconut oil. (I microwave for 30 seconds, stir for 30 seconds, microwave for 15 seconds, stir, and then its ready!)
  7. Spoon an even amount of the melted chocolate mixture into the bottom of each of the muffin cups.
  8. Place the balls (slightly flattened) of cookie dough on top of the melted chocolate mixture.
  9. In the same bowl melt another ¼ cup + 2 tbsp, of chocolate and ¼ tsp. coconut oil.
  10. Pour an even amount of chocolate over all of the cookie dough balls.
  11. Chill in the fridge for at least 30 minutes.
  12. Store in an airtight container in the fridge for up to one week.

Go here for original blog post and more pictures


Enjoy and happy weekend everyone!!