Showing posts with label Kitchen Nook. Show all posts

Saturday, March 24, 2018

Thrifted Table and Chair Makeover

A few months ago, we purchased a solid wood drop-leaf table and 2 chairs for $20. The size, shape, and price were perfect and what we had been looking for in the breakfast area. And although the table did need a little bit of work, for $20, we didn't mind.

The two chairs that came with it were originally a lighter wood tone. It didn't match the finish on the table and there were some paint spots on the seat. After a light sanding, I painted them with some left over chalkboard paint (the same we used for the play room). 

Here it is today:


Our kids like to eat their breakfast or snack in this little spot. The view out the window isn't too bad either. Occasionally, we have seen deer in our backyard which the kids LOVE to watch while they are eating.


We also decided to add these rubber white "feet" to the chairs to protect the floors. It also makes it harder for a certain little person in our house to move them around all over the place scratching up the floors. ;)


Silly faces!!


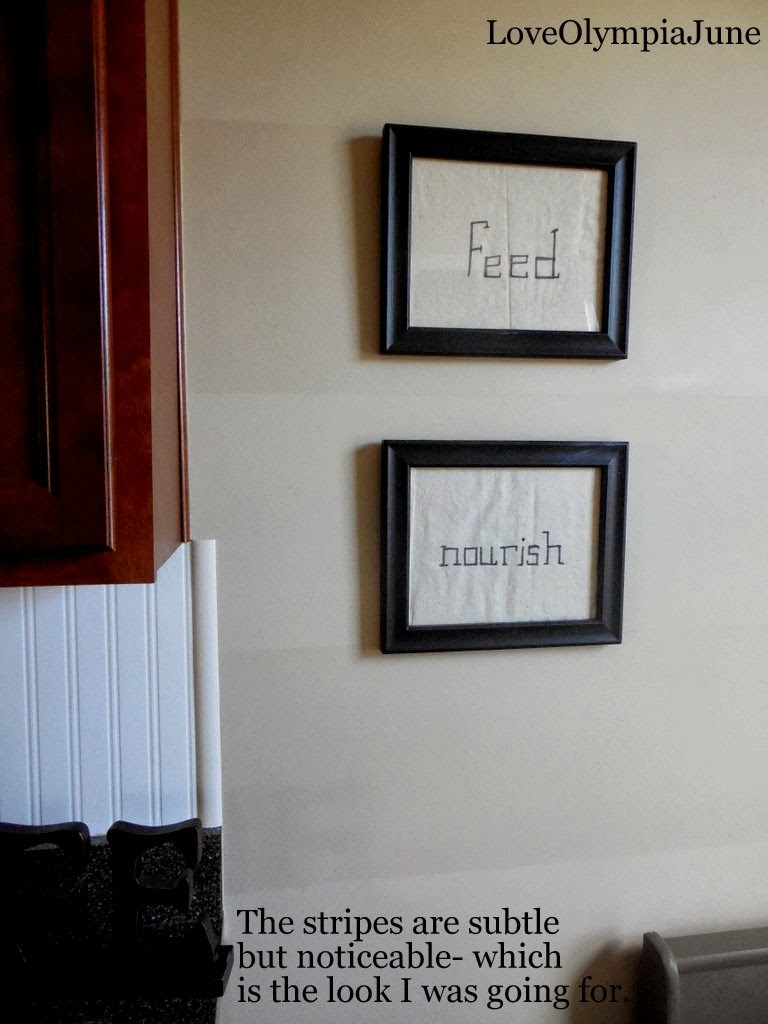
I'm finding more and more that I'm such a sucker for wood tones paired with gray and black. There's just something about that combo together that I love! 
Because of this, I also added some wood trim around our chalkboard calendar (pictured above), because again, I wanted to add more wood tones to this space. 
We love how everything came together in this little space.

Tuesday, October 7, 2014

Kitchen Nook/Dining Table

Good morning everyone!
 I hope that after yesterday's post,  you felt encouraged and not terribly saddened. Again, I didn't mean to share that story to put a downer in people's day, but to give people hope and show that even through suffering, God still loves us and is always there. 

I did want to share with you today a table that am I selling this week to someone. The before and afters are quite dramatic. The table and chairs I purchased were very dark and in need of some love, so I cleaned, sanded, primed, and painted them to give them more of a fresh and updated look. I also added a new floral fabric to the chairs to liven the look.

Here are the before photos:


A little too much wood on wood tones going on.
It definitely needed a fresh update...so here are the after photos!


Our girls enjoy eating breakfast and snacks here...but it is going to a new home later this week so I will be on the hunt for a new one. :) 
My mom will be in town this week so I am excited about that and we are excited about shopping around for a new table and chairs. I am hoping to find a circular one with similar chairs...we will see.

Thanks for stopping by!

Thursday, September 25, 2014

New Chalkboard For Sale

Hi there everyone!
Happy Thursday. :)

This week has been flying by...and it has already been almost 3 weeks since we have been in the new place. I can't believe it!

I wanted to share a new piece I have for sale. It is a chalkboard wall hanging that I recently made over. It is very sturdy and really a lovely piece with some nice detail. We currently have it hanging in our kitchen nook for notes and lists. I really love how it turned out.

Here are a few pictures for you:


Thank you for stopping by!

Wednesday, January 29, 2014

Seeing More Stripes...

in the kitchen that is!

If you have been reading my blog for a bit, then you might be thinking to yourself, "I thought she already added stripes to her kitchen!"

And guess what, I added just a little more with some tape.
;)

Tape? What??

Yep!
Some white masking tape (and it isn't that sticky so it is easily removed from the wall if I tire of it).

See?!


We LOVE it!!


This was all done with some tape....easy peas guys!!

Would you every work with tape like this?
I got the idea from a wonderful blog called TheNester.
This girl is hilarious and writes so well...check her blog out sometime. It is sure to put a smile on your face! :)


Thanks for stopping by!

Tuesday, September 24, 2013

Seeing Stripes....in the

kitchen, that is!!

Yes...yes, I did paint some lovely stripes in our kitchen nook and it looks fab! Seriously, we love it and it's subtle enough that the stripes aren't the "In your face" kind of stripes...they are just right.


See?! 
I have seen many inspirational photos online and in magazines of stripes painted on walls and ever since then I have been wanting to put stripes somewhere in our home!

I went back and forth on whether or not to do them in our entryway, but the kitchen nook seemed like a better space to add a little more drama.


I barely did any measuring (I know...some of you might cringe a little about that one) but really, no one is going to be taking a ruler to each stripe to make sure they were all equal, right?!
And if someone does, all I can say is good for them.  :)


The best part is peeling off the tape to see the end result!


The change is so subtle, but makes a big difference in person and in photos.

Hooray for quick changes!!


Oh, and the paint I used for the stripes was just leftover khaki and gray paint mixed together so I would have enough to paint with. Turns out, I actually have leftover paint from this mixture just in case I need to touch up a spot or two. :)


Are you loving stripes?


Thanks for stopping by!


Linking
 http://www.elizabethandco.blogspot.com/
http://thewinthropchronicles.blogspot.com/
http://www.homemakeronadime.com/
http://farmhouseporch.blogspot.com/
http://knickoftimeinteriors.blogspot.com/
http://www.notjustahousewife.net/
http://romanceonadime.com/take-it-on-tuesday/take-tuesday-tiot-blog-hop-92/
http://www.blackberryvine.blogspot.com/
http://myuncommonsliceofsuburbia.com/
http://thediydreamer.com/ 

Tuesday, September 10, 2013

Chalkboard Painted Plates

We have this little space in our kitchen nook that is pretty empty.
The only thing in our nook corner is a picnic basket that our daughter likes to sometimes use as a stepping stool to get to our kitchen bench. :)

Since there was a little something missing on the walls, I decided to get creative and paint some old plates we barely used with chalkboard paint. I also hot glued some screen door patches (yes, you read that right!) to the backs of the plates with wire so they would hang from the wall.
Hey! I am a fan of using what you have around your home to decorate and that is why I went with the screen patches and wire. :)


Here is the blank wall we started with:
 Kind of plain, right?
Well, not for long!!

 Any Gator fans out there?!
Don't worry, these plates were already cracking and no longer good to use for dinner plates, so they had to "go." But we have plenty of other Gator memorabilia around the house!!


How do you decorate with plates?


Thanks for stopping by!

Thursday, May 2, 2013

Evolution of Our Kitchen Nook


Well, I had some great feedback about our most recent update to the kitchen nook. :)
Thank you all for your sweet comments on yesterday's post.

In case you missed the updates, you can go here to read about the first update or read about yesterday's post here.

And just when you think you had enough of my updates, I just wanted to put together a quick photo of the changes we have made in the past 2 years to the space.

Too bad I don't have a photo of what the space looked like when we moved in over 2 years ago. Oh well!


The chevron was a little too much...but since I do love the chevron pattern, I used some of the left overs to make a pillow.


Yea, it looks much better now and like I said before, it won't be changing for a while. :)


Thanks for stopping by and happy Thursday everyone!  

Wednesday, May 1, 2013

Kitchen Nook- Simplifying Part II

Today is part two deuce of my post from yesterday.

Our kitchen nook has always been a favorite spot in our home, especially for my daughter. She LOVES eating breakfast and snack at our little table....LOVES it! As for mommy, mommy loves to change up the space quite a bit. I just can't help myself people!! ;)

Anywho, here are the updates on the space.


To recap, I painted the table-top added a new chevron pillow (which I made with left-over fabric), covered the light fixture chain with fabric, and accessorized the table.


I also took out the chevron padded seat cushions and like this look much better.


For a tutorial on how to make a cover for those light fixture chains that we all seem to have with our hanging lights, hop on over to Diane's blog.
I used her tutorial but tweaked it a bit to my own liking.

What do you all think of covering light fixture chains?

Linking up at Savvy Southern Style here
and here

Thanks for stopping by!