I mentioned on my FB page that I recently bought this desk not long ago at a thrift store in our area.
What drew me to this piece when I first saw it were the pulls on the 3 drawers. I thought they were so unique and with a little help they could also be beautiful. So without too much thought, I purchased the desk and quickly brought it home. I began planning how I wanted it to turn out and thought to use some light gray paint we already had stashed in a closet. After painting it light gray, I added some detail on the sides using white marker paint.
Here is how it turned out once all of that was complete.
It didn't look terrible or anything, but I didn't LOVE it. I had been wanting to paint the lower legs in gold but wasn't sure how I was going to pull that off. That is until my family and I took a trip to Lowe's one day and I bought some gold spray paint.
After some feedback I got on the desk after posting it to FB, I decided to try again and repaint it. This time going with a darker gray and giving part of the legs a bit of gold paint.
Here is this same desk a second time around (sometimes you gotta try again when something doesn't go as planned).
Another close-up look of the gold painted legs...adds a little bit of glam, don't you think?
I simply LOVE how this turned out the second time around and it is now for sale.
You know it's a good piece when you don't want to part with it! It is currently in the girl's bedroom and we love how it looks in there. :)
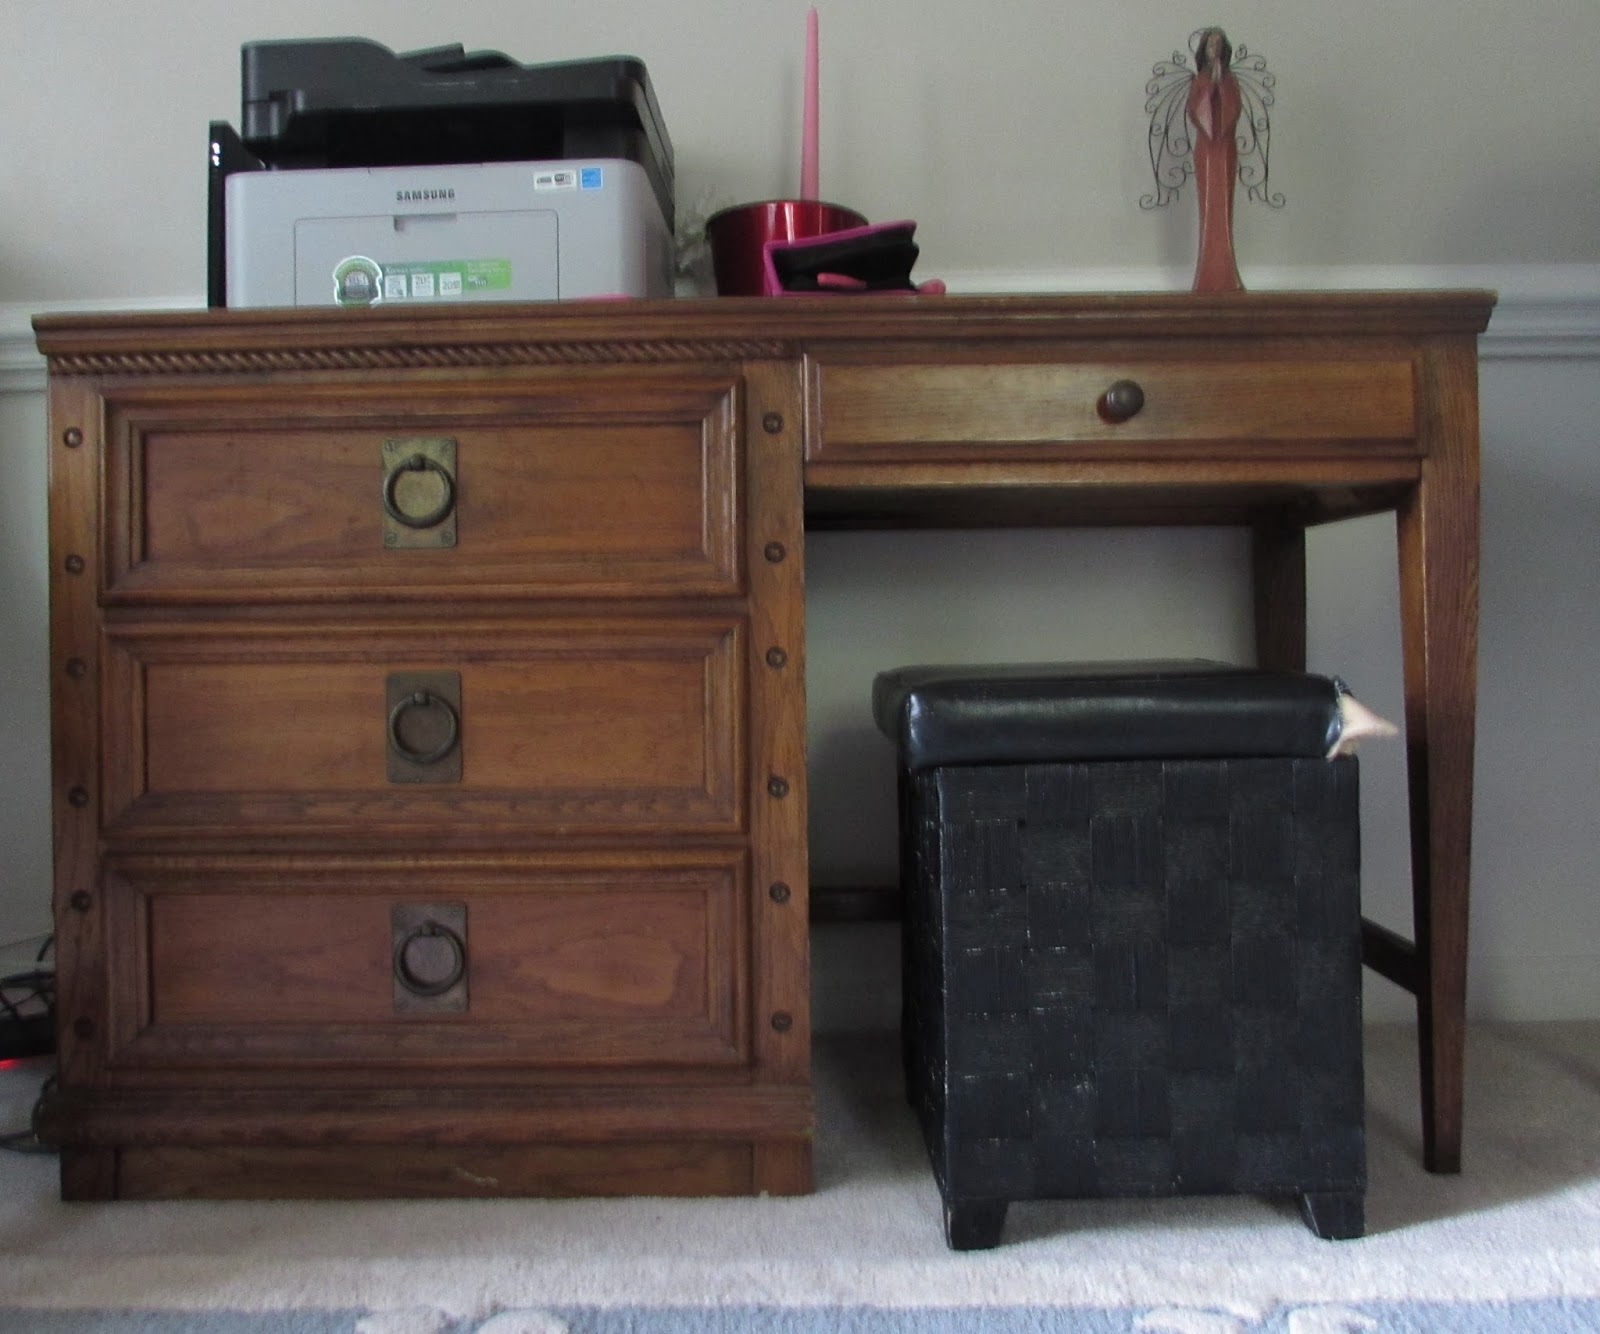
A few months back, I posted a picture to my FB page about a writing desk that I made over with primer and paint. Our computer has been having some issues so I couldn't find a great photo of what the desk use to look like before it was painted and after I painted it the first time. Here is the only picture I found...it's a little blury.
Basically, it was your basic wood-tone dresser, a little orange-y in color, with some scratches that needed to be fixed.
My first time around, I painted the desk in a white that I had on hand. It wasn't awful but I didn't love it. Trying to sell it was a bit difficult as well. So I decided to repaint it and had an interested buyer right away!
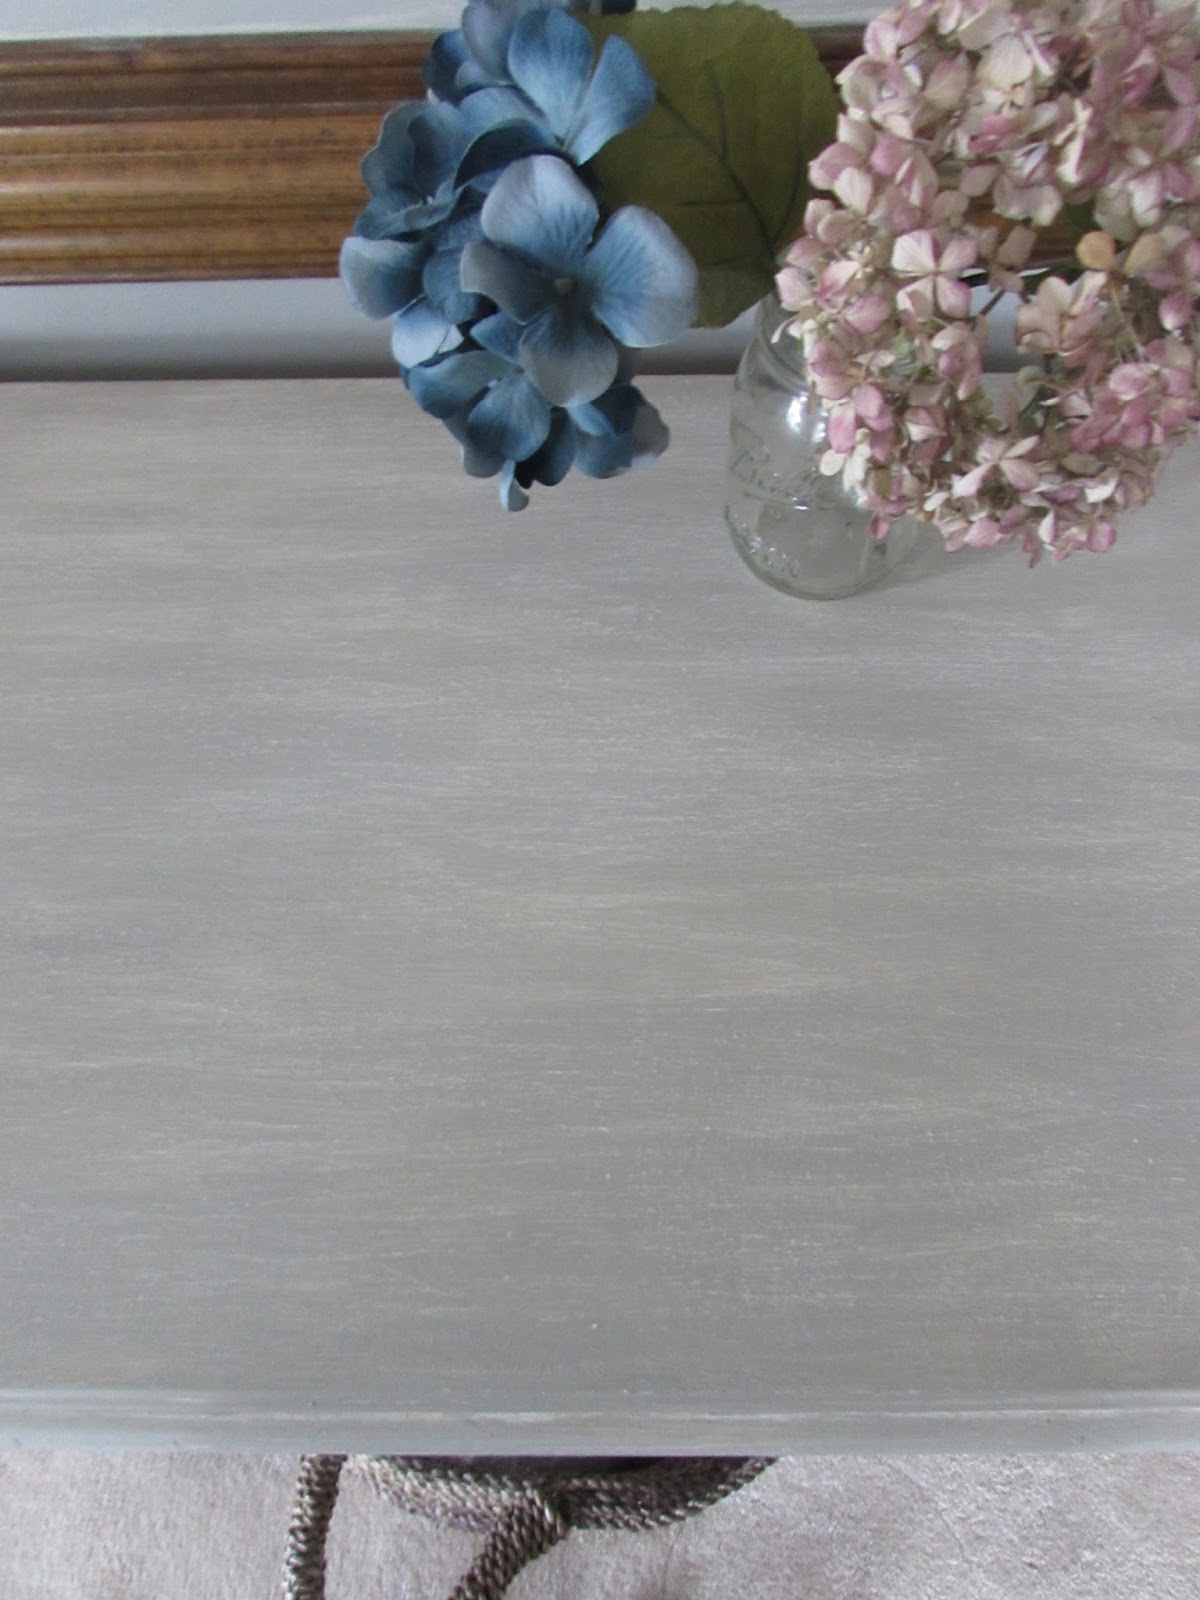
I loved the way it turned out the second time around. Even my husband said he liked it better and I agree! It turned out better than expected with the new color scheme.
The second go-around, I wanted the brush strokes to be noticeably visible, so I used several different shades of gray that I already had and also mixed in a little bit of water to one of the mixtures. Then I put 2 coats of a poly-acrylic on the top to seal everything and give it a bit of a shine.
The hardware is original to the piece. It really worked with the new color.
It sold to a very kind young woman who needed a desk to stash "all of her stuff." :)
I hope she really comes to enjoy the desk and the work that went into it.
It was also fun to get back into refinishing furniture pieces. Ever since I started building the sofa tables and the buffet tables, I haven't had much time to commit to shopping around for thrifted pieces to redo. So it was really nice to be able to get this thing done and sold to a happy home!
Have a great week everyone and stay warm!!
Hello there!
I have finally been able to sit down and type up a post about the painted nightstands I finished a few days ago. I am really happy with how they turned out.
They were purchased at a Restore and even though they didn't exactly match, they were roughly the same height and close to the same style that I just went for them.
To keep them consistent, I painted them the same color in a custom mix of gray and white.
The knobs they came with were the same but I didn't think they fit with the piece, so I purchased some neat knobs at Hobby Lobby and added them.
Both nightstands were finished off with a clear coat of protection with a bit of a sheen. I love how they turned out!!
I absolutely LOVE these knobs!!! They work perfectly with these nightstands.
The detail on this nightstand really sold me.
Both of these pieces have great storage on the bottom and both come with one drawer.
The above is one of my favorite pictures. I love the way this one turned out because of the way the light was coming in.
These nightstands are a great height and have tons of storage...definitely what I was looking for.
I am also glad they don't completely match, but they still work great together because they both has a storage drawer and storage underneath...and in addition, they were painted in the same color and have matching knobs so it works out.
Thanks for reading and I hope you also think these turned out great!
Thanks for stopping by!
Happy New Years!!!!!
Wow! Seriously cannot believe we are in a new year already and it is January 1st. My hubby and I were just talking about how quickly the year went by and now we are starting a new year again.
We had a good New Year's Eve and tonight I get to go out with some girlfriends for some dessert. It will be a good day! :)
Well, I wanted to share a quick sneak peek of some nightstands I just completed.
It is no secret that I love the color gray so it wasn't a long decision to make before I painted them in a custom mix of gray paint. I also got new knobs for them and will talk about them later in another post.
But for now, here is a sneak peek for you. :)
I know it is not a lot but I will share more later with you.
And there was something about this shot that I loved...the way the light hit this particular nightstand and the way the rays came in through the window- LOVE it!
Happy New Year everyone and I hope your year is another great one!
I recently painted the dresser I bought at a local thrift store and am in love with the color. I custom mixed some paint together to achieve the look so it coordinates with the dining room and it turned out better than expected! I am very happy with it...and I love the shape of this thing because it is so unique. Here are some pictures of it...just a little sneak peek of course!
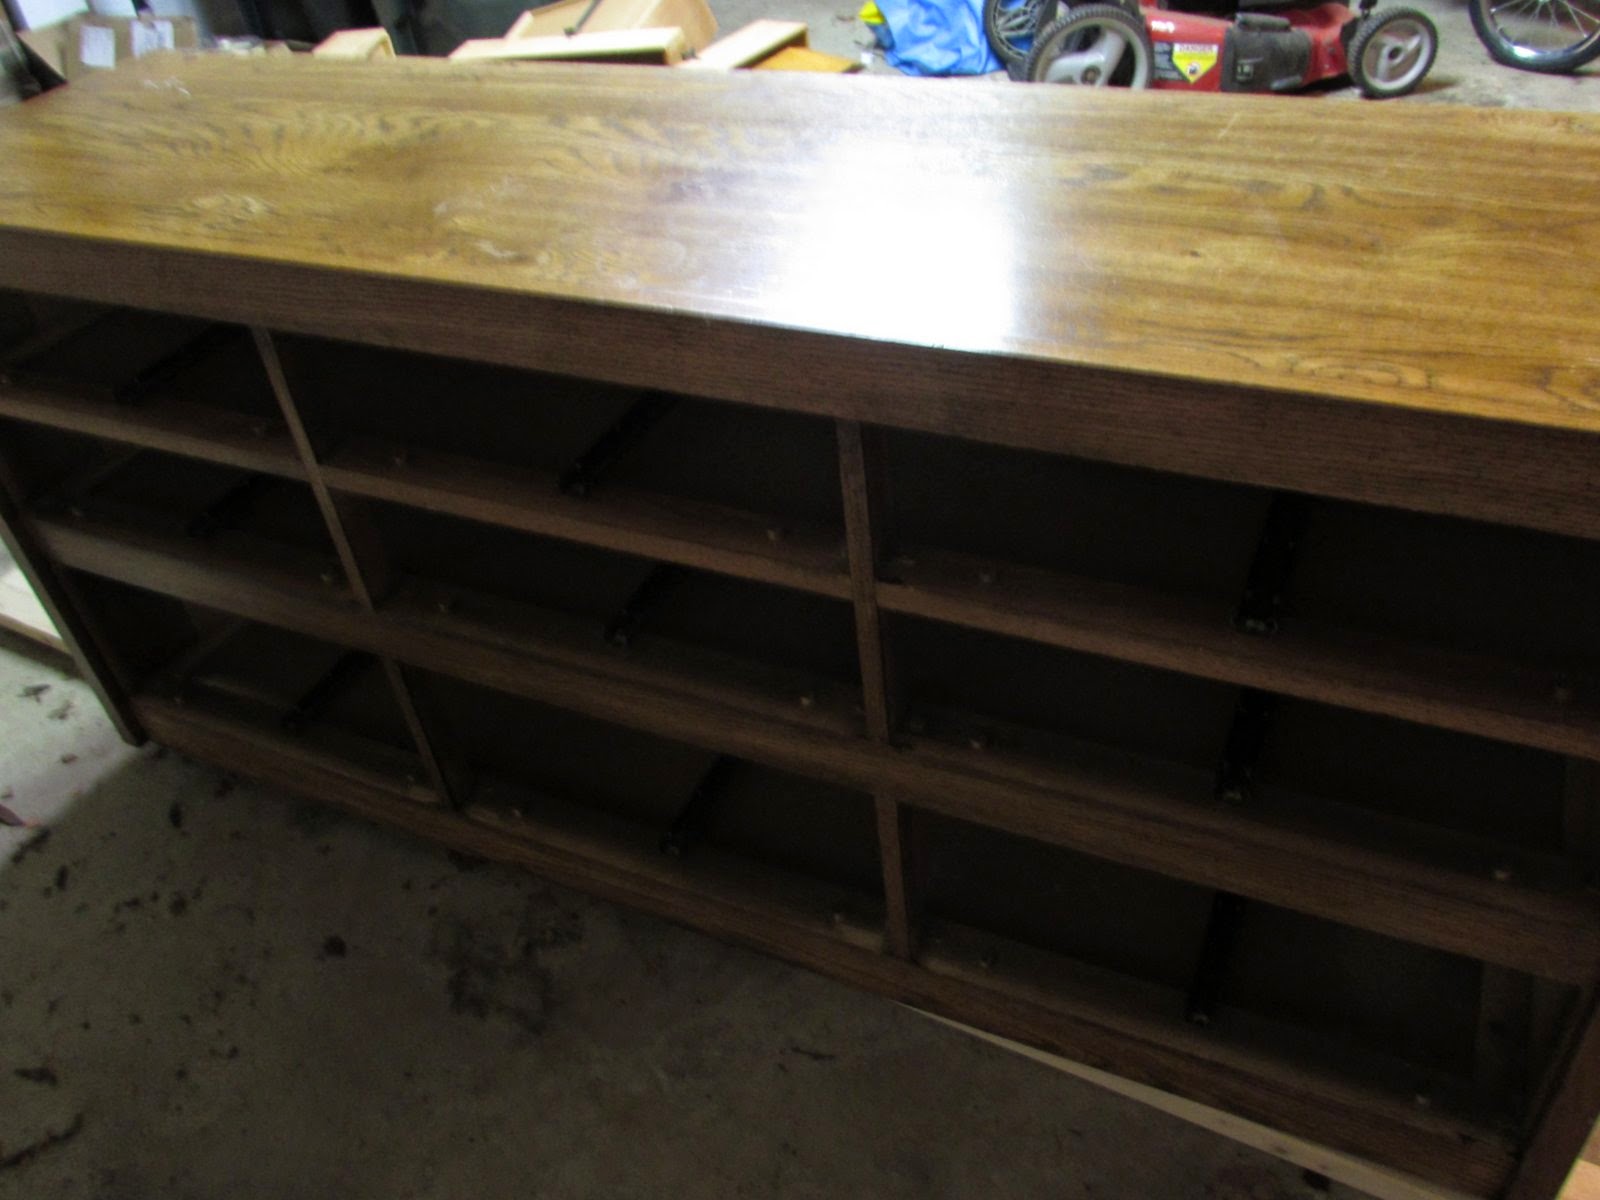
And here is how it looked before the make over...
I still need to add some hardware to the front of the drawers...,I plan on using some left over handles we kept after we did our mini kitchen makeover a while back. I also want to give this piece a little height so I am thinking about adding some wood pieces to the bottom of it for that.
Can't wait to decorate this thing and use it as storage!!
Thanks for stopping by and happy first week of November to everyone!
Good morning everyone!
I hope that after yesterday's post, you felt encouraged and not terribly saddened. Again, I didn't mean to share that story to put a downer in people's day, but to give people hope and show that even through suffering, God still loves us and is always there.
I did want to share with you today a table that am I selling this week to someone. The before and afters are quite dramatic. The table and chairs I purchased were very dark and in need of some love, so I cleaned, sanded, primed, and painted them to give them more of a fresh and updated look. I also added a new floral fabric to the chairs to liven the look.
Here are the before photos:
A little too much wood on wood tones going on.
It definitely needed a fresh update...so here are the after photos!
Our girls enjoy eating breakfast and snacks here...but it is going to a new home later this week so I will be on the hunt for a new one. :)
My mom will be in town this week so I am excited about that and we are excited about shopping around for a new table and chairs. I am hoping to find a circular one with similar chairs...we will see.
Thanks for stopping by!
I am so excited to share this project with you all!
This is a new piece that I have been working on and just completed.
**I do have to say that once again, I didn't take "before" pictures...blah! Sorry...I really have to be better about that!*
Here is what I did:
Anyways, this piece needed some color so I began by priming it first.
I painted it this pretty green shade by Sherwin Williams and then once it was dry, sanded the whole thing to give it a little bit of a distressed look. I felt it was needing that.
I also used some Frog Tape to tape off the numbers "1", "2", and "3" on the drawers. I wanted to keep some of the original wood finish to the piece and by doing that with the numbers on the drawers, it added some visual interest.
I also wrapped the knobs with some jute and then once the dresser was painted and dried, they were ready to be added on. I think they look fabulous and just what this piece needed in the end to finish it off.
Here are a few close-ups of the different colors coming through after I sanded it down.
I really love how it turned out once it was distressed a little bit!
As a side note, if you are thinking of redoing a piece of furniture like this, I would highly recommend priming whatever part(s) you are planning to paint. It really helps keep the piece durable and the paint will stick better to the primer as well.
This piece looks much better in person I think and I am very happy with the way it turned out!
Don't forget to like my new Facebook page :)
https://www.facebook.com/LoveOlympiaJune2014
Linking up with:
LizMarie blog
4you-withlove
I'm back today to share another dresser I painted....in gray of course!
Now, this dresser has been ready for a few weeks now....I am posting now because I have finally had the chance to take some photos of it and post if for you all.
I sanded, primed, and painted the dresser to start and filled any gaps as needed with some wood filler...then sanded more.
The gray color came from a mixture I made with some leftover paint.
Here is the finished product...and there will be more to share about the knobs on the drawers at the end of the post.
The knobs were covered in jute (which was purchased at Home Depot)...pretty inexpensive way to dress up some plain knobs.
The drawers were also layered with some left over black and white paper I had on hand....it's a quick way to add a little something extra to the inside of the dresser.
And there you have it....a new gray painted dresser with jute knobs.
**No longer available- went to a good home already!**
Like us on Facebook:
https://www.facebook.com/LoveOlympiaJune2014
Thanks for stopping by!
Linking up with:
http://thestylesisters.blogspot.com/