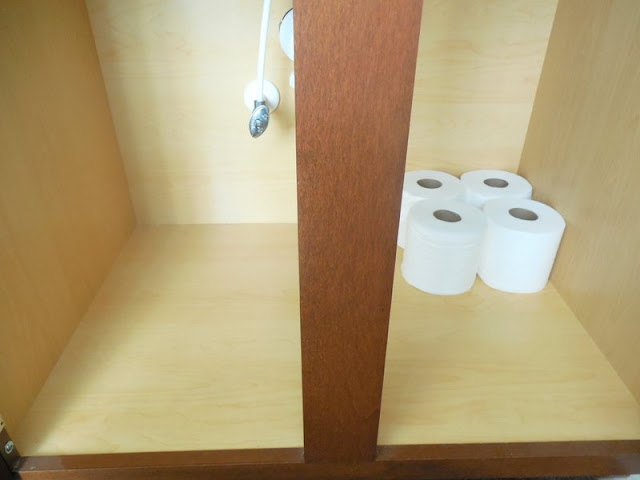
Ever wonder what to do about all of that empty space under your bathroom sink?
I have...and I've finally decided to do something about it!!
While my little one was napping, I decided to conquer the empty space under our bathroom sinks to add more storage.
I used left over wood that we had from a previous project and corner braces that I found in our garage. Score!! I didn't have to go out and buy anything for this project.
It took about 2 hours to complete, but I am happy with the finished product and I am pretty sure my husband is too!
Here is the run-down of what I did to create more storage under our sinks....and keep in mind, I may need to add more storage by purchasing a few little baskets at Target's Dollar Section in the future.
I gathered all of the extra wood we had stored in the garage.
Then I cleared out our cabinets and figured out where I wanted to add the wooden shelf.
I took a rough estimate and measured out where the shelf would be placed.
I used corner braces and nails we had in our garage to hold the shelf in place.
Then I added the first corner brace and was careful not to allow the nail to poke through the side of the sink wall.
I added the second corner brace using my drill.
Then I placed some items under the shelf to make sure they fit perfectly!
And they sure did!!
I had to add a 3rd corner brace to the top of the shelf (which is not pictured) to keep it from falling over.
The striped pink wrapped paper towel roll helped me keep the shelf in place while I figured out how to arrange all of my bathroom items.
I plan on buying some cheap plastic baskets in the future to keep all of these miscellaneous bathroom items.
This is what the other side of the sink looks like...for now.
Then it was on to tackling my husbands sink storage....
So I emptied out all of his things in preparation to add the second shelf.
I used smaller corner braces on his side of the sink just because that was what we had left around the house. :)
And thank goodness for little screw drivers to reach under smaller areas like the one below!
Here is the corner brace I had to add to the top of the shelf to again, keep the whole thing in place.
This thing is not going anywhere with all of the 3 corner braces holding it together.
Woohoo!!
Here is a picture of the white corner brace I had to use on my side of the sink in order to keep the shelf sturdy.
Here is a picture of what the sink storage looks like after the shelf was installed on my side of the bathroom.
I used a plastic pink basket that we had in our guest bathroom for storing my perfumes and soaps.
I will need to do something about my hair curlers soon. :)
Maybe a little cardboard box decorated all cutesie would work under here?!
And here is the other side of my space.
Love it!!
This is my hubby's side of the sink...much better than what we had before!
There you have it!
After a few hours of planning and building, we finally have more storage in our bathroom!
How do you store your bathroom items?
Linking up:
http://katherinescorner.com/
Thanks for stopping by!


Wow what a handy girl you are! Will you come to my house? I need a handy person. This was a great idea and a great tutorial.
ReplyDeleteThanks for sharing. BTW I am following you now. You Inspire! I came by from Katherines Corner. Come by and see my planning for Valentines Day post.
Have a wonderful evening,
Sherry
Thanks so much, Sherry!
DeleteI am so glad you are a knew follower...I hope you get inspired by more of my projects along the way. :)
I am heading over to check out your Valentine's day post!
Have a great weekend!
you are awesome! xo P.S. thank you for sharing at the hop
ReplyDelete