Here is a break down of how I created our gallery wall:
To start, I made sure to do some research on how to make a gallery wall because I didn't just wanted to put up a bunch of random pictures on the wall and leave it at that. Maybe that does work for some people, but I am not that great at doing things on the fly and keeping things straight when it comes to hanging frames so to the computer I went to look up some great photos.
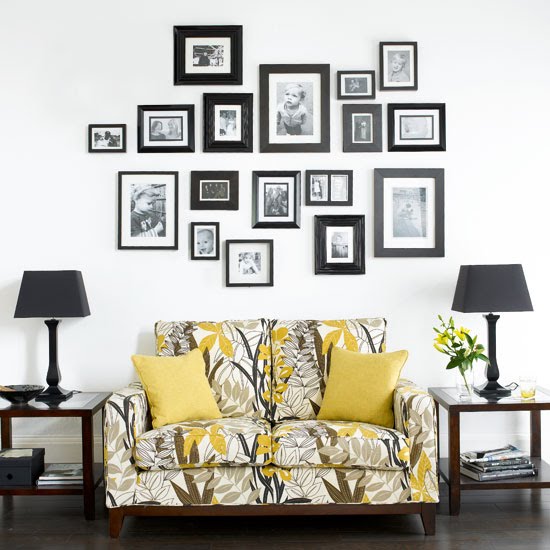
I found one particular photo that caught my eye from Thenester.com and showed my hubby this picture. He loved it too so we went with it and I used it for my inspiration.

Man, I want my photos to turn out like this when I take them and upload them to my blog...well, maybe someday soon they will look just as great! :)
After my research was complete, I took an early morning shopping trip to our nearby Thrift store (I love that place so much) and bought some picture frames for super cheap mula and then we strolled into Target and bought the rest of our frames there. I know the picture above has one consistent frame color...black...but I wanted a little more variety to my frames so I bought white and black frames and already had some brown and reddish frames in the house and used those as well.
After a few days of laying out the pictures on the floor, I took some pictures of the layouts and tried to pick which one looked the best. Next, I taped some paper together (it was actually the same paper the lady at Target used to wrap up the frames...hehe) and placed the frames over the paper and took pictures.
Here are some of the layouts I came up with (without using the paper as a background, of course)...please ignore that none of the pictures line up quite well...I will get to that later. :)
Here is a quick photo of the pictures laid out on the paper...again, this is not what the gallery wall looks like, but I was just experimenting with different layouts first.
Here is our little cutie helping (watching) mommy work.
Loveeee her soooo much!!! She makes us smile every day and we are very, very blessed to have her in our lives!
After taking a few photos of beautiful little Miss, I had to feed her and put her down for her nap...she hadn't have a long nap since she woke up this morning so I was able to work more on the gallery wall while she snoozed away. <3
Here are some more pictures of the layouts I was deciding on. I know they all look the same, but they are actually quite different if you look closely. :)
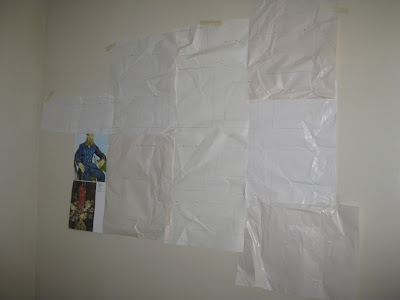
This was it!!! The picture above was the winner for the gallery wall. Then, it was back to placing them on the paper so I could draw lines around each frame to help me place them on the wall. So, I took a pen and traced around the picture frames, used some tape to put the paper up on the wall, and then I nailed some nails into the wall with my handy hammer. Doing this helped me know exactly where each of the picture frames were going to be placed once I had to take down the paper from the wall. This is an important step to making a gallery wall!
Not the best picture, but this is what the papers looked like on the wall all taped up! This helped me know where the nails would be placed.
Here is what the gallery wall looks like now that it is finished! I love it!
And here is another view of the wall! YAY!!! I am so glad this wall has some character to it now and I think the mixture/variety of frames looks pretty neat!

Thanks for stopping by!


No comments :
Post a Comment
I always love to hear from my readers! Thanks for taking the time to post an encouraging & uplifting comment.