EEEeeeeeekkkkkkkk!
I am so excited to share with you all my newest furniture transformation.
A few months ago, we bought a dresser at the thrift store for $30.00.
Our intention was to use it in our guest room, which you can read about here.
After painting it gray and adding some fabric to it, we put it up in the guest room, but it seemed kind of useless at the moment- especially since our guests usually hang their clothes up in the closet in that bedroom. Also, I was planning on looking around at various thrift stores for a buffet table. The ones we found were either too big, cost too much $$, or just weren't right.
So I needed another plan!
And that was to take the guest room dresser and turn it into a buffet table.
I also wanted to replace the dresser in the guest room with a Target desk which we found online in the clearance section.
Sold!!!! And I couldn't wait to start this project.
But now that this project is finally complete, I can now share what I did with the dresser with you.
Be ready for lots and lots of pictures!
Before I share all of the nitty-gritty with you of the process of turning this dresser into a buffet table, how about a quick "Before and After" picture?!
Don't you just love before and after pictures? It's always neat to see what something use to look like after you have turned it into something new!!
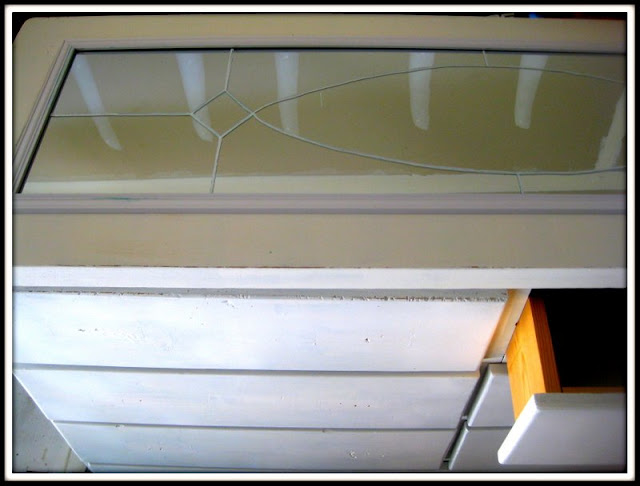
The mirror on the top of the dresser came from our dining room. I was thinking/hoping that it would fit perfectly in the opening of the top of the dresser, but since it didn't I came up with a new plan. More on that later in this post.
I sanded down the dresser a little bit and painted it with a white paint color from Sherwin Williams.
Then after all of the old drawer handles were hammered/banged off (that was a fun part), I measured out where I wanted the new bronzed knobs to be drilled and marked with a pencil.
I also lightly sanded around the edges of the dresser to give our new buffet table an older feel instead of looking too clean and neat.
For some reason, I really love doing this to certain kinds of furniture pieces and felt it just worked with this piece in particular.
After marking up where I wanted the knobs to go, I drilled holes into each spot for the knobs.
This part was a little tedious because I had to use several drill bits for this job but was pretty pleased with the turn-out.
I purchased these knobs at Home Depot for less than $1.00 a piece and bought 12 because I wanted to place 2 knobs on each drawer for easier access to things.
What do you think of them?
I think I am in LOVE and the hubs loved it too!! :)
Next up, I had to figure out what to do with those little square pockets on the sides of the dresser so I took out the old chalkboard paint and tested out a little part on the side of the dresser.
Once I decided that using the chalkboard paint was a go, I used some blue painters tape to keep the edges from getting chalkboard paint on it and used a brush to paint it all on.
I did 2 coats on all of the parts where I wanted the chalkboard paint to be and decided to paint the top of the dresser with it too!
After the paint dried, I carefully took of the painter's tape (making sure not to leave any leftover painter's tape-even though that happened in a few spots!) and took out the sander again.
I finished sanding around some of the edges again to get the roughed up look I wanted.
There are a few holes I still need to cover with some spackle from where the old nails use to be, but I couldn't wait to share this in my post today with you all.
I am still deciding on how I want to accessorize the top of the buffet table, but for now all I've got are a few cookbooks and a cute little lettered candle holder from none other than the Target clearance section! Yea, baby!!
What do you think??
It was fun to write with chalk on the sides of the dresser.
I wrote:
I heart family
I heart friends
I heart faith
I heart forever
I didn't takes pictures of the other side for the post because my little one thought it would be fun to wipe her hands all over the other side of the dresser and play a little bit with the chalk.
Oh well, someday she will be able to write cute little sayings and things on this dresser- which makes it so exciting and something to look forward too! :)
Here are a few of my cookbooks which were bought for me over the years by my mom. :)
I really love the rustic lettered "B" from Target.
I wasn't really looking to buy anything like that either, but when I spied it in Target and saw the price, I knew we had to have it in our home!
Don't you just love when little surprises like that happen?!
A few more close-ups of our dresser turned buffet table!
And I will leave you with a new project I am working on for my daughter's birthday.
The party is in a few weeks, but I am already looking forward to planning it and decorating! Yay for celebrations!!
Thanks for stopping by and let me know what you think before you go!
Linking up here:


This came out fabulous. I love the transformation. The chalkboard paint was such a smart idea. My 2 year old would love it. I'm sharing on my facebook page. I'm a new follower. Thanks so much for sharing at Whimsy Wednesdays.
ReplyDeleteThanks so much, Jenny!! I love that you were able to feature me on your facebook page too!
Delete~Stephanie
Wow great job. I love the chalkboards on the sides too. Thank you for your bloggy friendship and for sharing on the Thursday Favorite things Blog Hop xo
ReplyDeleteThanks so much Katherine! And thank you for always hosting wonderful blog hops! :)
Delete~Stephanie