
Hi there!
Can you believe that we are already into the second week of May?! My hubby and I were just talking about how fast this year seems to be going! Before we know it, our little baby girl won't be so little anymore and will be turning 1 in a little over a month!!!!!! WOW! The time is flying by and we continue to feel blessed for each day that we are given.
So what DIY project do I have planned for today? :)
Well, this project happens to be one that I have completed before and posted about on the blog, but I wanted to update that same game ottoman again and show the changes that I made to it recently.
To start, here is what our ottoman looked like in its original state after we purchased it from Ross a while ago.

We purchased this ottoman at a good price, but I wasn't digging the dark finish and wanted to lighten it up a bit. So I went with some lighter fabric which I bought at JoAnn's a while back.
(You can read about the first time I recovered this ottoman with some dropcloth fabric here.)
Anyways, I really did like the transformation of this ottoman after it was covered in the dropcloth fabric the first time, but the ottoman kind of got washed out a little bit next to our neutral walls and the neutral mirror that sits above it, so it needed an easy fix. This required adding new fabric with pops of color here and there!
And it was a pretty easy change, I must say, the second time around since I already knew what to do. :)
Here is a quick before and after photo of this project I thought I would share before getting into the steps required to recover the ottoman.
 |
| LOVE!!!!! |
Step 1:
After I had taken out all of our board games and puzzles, it was time to gather my supplies.

Turns out I didn't need the Exacto knife afterall because the staples that were in the ottoman from the previous recover came out easily as I made sure to carefully pull the dropcloth fabric off.

Once the supplies were gathered together, it was time to start laying out the fabric onto the front of the ottoman and begin stapling away.

I stapled the new fabric to the bottom of the ottoman so that the fabric would be held on tightly to the ottoman.
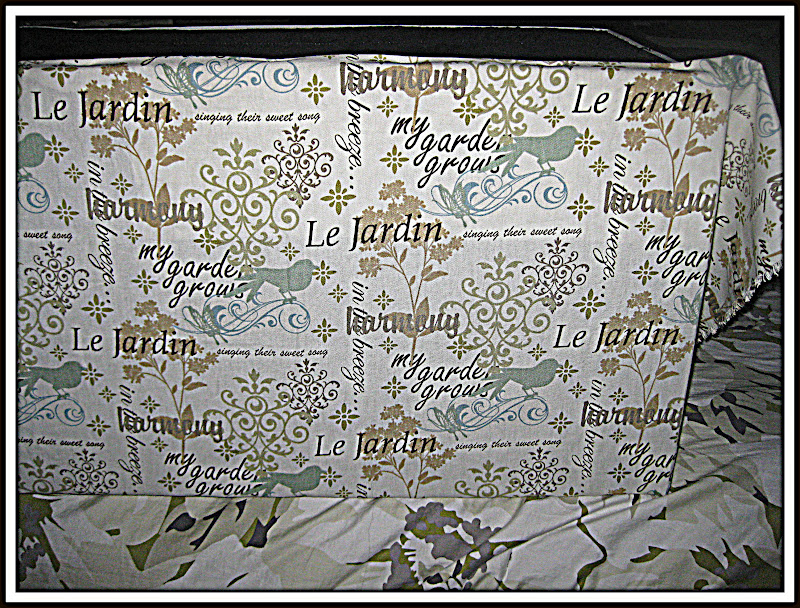 |
| Isn't this fabric just lovely?!? |
Step 3:
I wanted to start covering the front of the ottoman first since that would be the side that people would see most.

You can see here that the sides of the ottoman and the back still needed to be covered because the fabric wasn't lenghty enough to cover the whole thing in one shot.

After the front of the ottoman was completed, I began prepping to cover the back of the ottoman.

Step 5:
After covering both the front and the back of the ottoman, there was a small gap to one side of the ottoman that didn't get covered.
So my plan was to use the rest of the fabric to cover the lid of the ottoman which meant that any remaining fabric would be used to cover the little side piece on the ottoman that still needed to be completed.
You will see what I mean later on in the post. :)

Covering the lid was the easy part of the whole process.

Step 6:
Okay, so here (in the picture below) you can see that I still had to cover a little section on the side of my ottoman. To do this, I just used the leftover fabric from covering the lid of the ottoman and stapled it to the remaining side of the ottoman.
YAY!

Here is the small left over piece, pictured above and below, which doesn't blend in perfectly with the rest of the ottoman. But I don't care that much since no one will really see the side of the ottoman anyways.

Yes, the picture above is upside down. I didn't realize that until just now...hehe!
Oh well...you get the point. I just wanted to show you a picture of the small patch of fabric on the side.

Here are the two pieces (the bottom and the top of the ottoman) after they were completely recovered for the second time!!
I won't be redoing this ottoman again any time soon because I am in love with the new fabric and I just LOVE the pops of turquoise, gold, and green.

YAY!!! I definitely think this fabric has all of the right colors to help lighten up the space where it will be placed. :)
Step 7:
Place the lid back onto the ottoman using a screwdriver and nails.

Now it is time to get this thing moved to its proper place.

Of course, I kept the games out of the ottoman while I moved it because it would would have been a little to heavy for me to push around with our huge load of games still sitting inside.
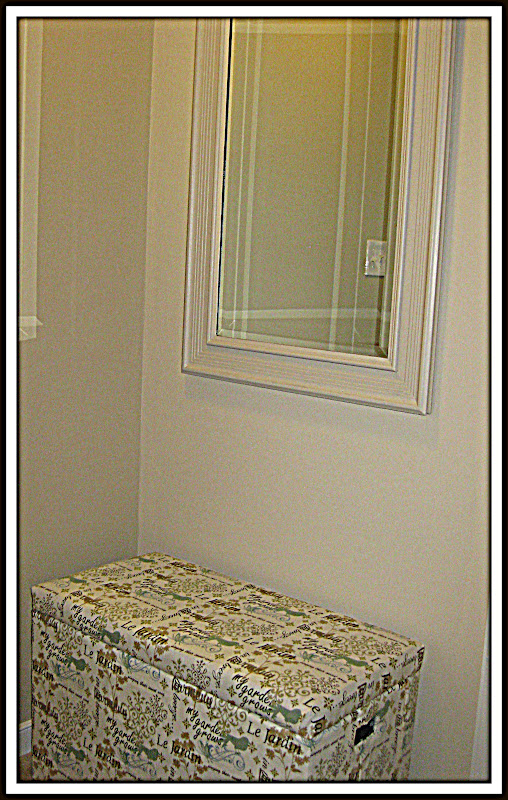 |
And here is our new ottoman under the thrift store mirror that I painted.
You can read about that post here if you like! :)
|

Here are our games galore!! There are more that didn't fit into the picture, but you can tell that this ottoman has pretty good storage if it can fit all of this wonderfulness!!
I just love storage!!

And believe it or not, this picture was taken after all of the games and puzzles were placed back into the ottoman! Yay!

Here is a close up of our new game ottoman!

And just for fun, I wanted to post a picture of our ottoman in black and white. I really love the whole thing!!

I would like to make some pillows to place on top of the ottoman too so that our baby girl can get cozy with a book or two in this spot (of course that might not be for a little while, but I am working on finding pillows for a good price that I can recover with some remaining dropcloth fabric).
It seems like I always have dropcloth fabric on hand, doesn't it? Well, I do because that stuff comes in large quantities and it only costs about $10 for a big pack of dropcloth so why not use it for other things around the house?!
I would love to know what you think of my newly recovered ottoman!
Linking up to

&

&
&
:)
Thanks for stopping by!
Superb job! What a great vision you had on it!
ReplyDeleteLove the fabric too!
Wow!! Thank you, Lizabeth! :)
ReplyDelete~Stephanie